The other day, I wasn’t feeling up to crafting on schedule. I have a plan detailing what to work on next so that the blog keeps moving along. And I just wasn’t feeling it. But I still wanted to craft. So, I switched direction and did some off-schedule crafting. And instead, I made 40+ random everyday occasion cards from 12×12 paper samplers.
If you have been following me for a while, you will know I have a bit of a paper problem. I keep amassing more and more paper. Currently, I have way too much paper, so this craft came in handy. And although I made over 40 cards with my paper samplers this did not even make a dent in my paper supplies…but I digress….
As an Amazon Associate, I earn from qualifying purchases. This post contains affiliate links. I may receive a commission if you purchase an item from one of my links. This will not change the price you pay.
Supplies needed to make cards from 12×12 paper samplers
So, to make this craft work, here is what we need!
- 12 x 12 cardstock sample pack. You can buy these at the dollar store, a craft shop, or even on Amazon. I like to keep an eye out for sales. Typically I get them at a huge discount if I wait.
- Double-sided foam tape – I used this stuff.
- Glue – I use Bearly Art Craft glue, but any glue will work.
- Scissors or a paper cutter
And that’s it! That’s all we need to make a whole lot of cards! So let’s get started!
Making Cards from a 12×12 paper sampler
Selecting Sentiments for your Cards
The cool thing about buying a 12 x 12 cardstock sampler pack, is that all the papers are color-coordinated. All the pages match. They all work wonderfully together.
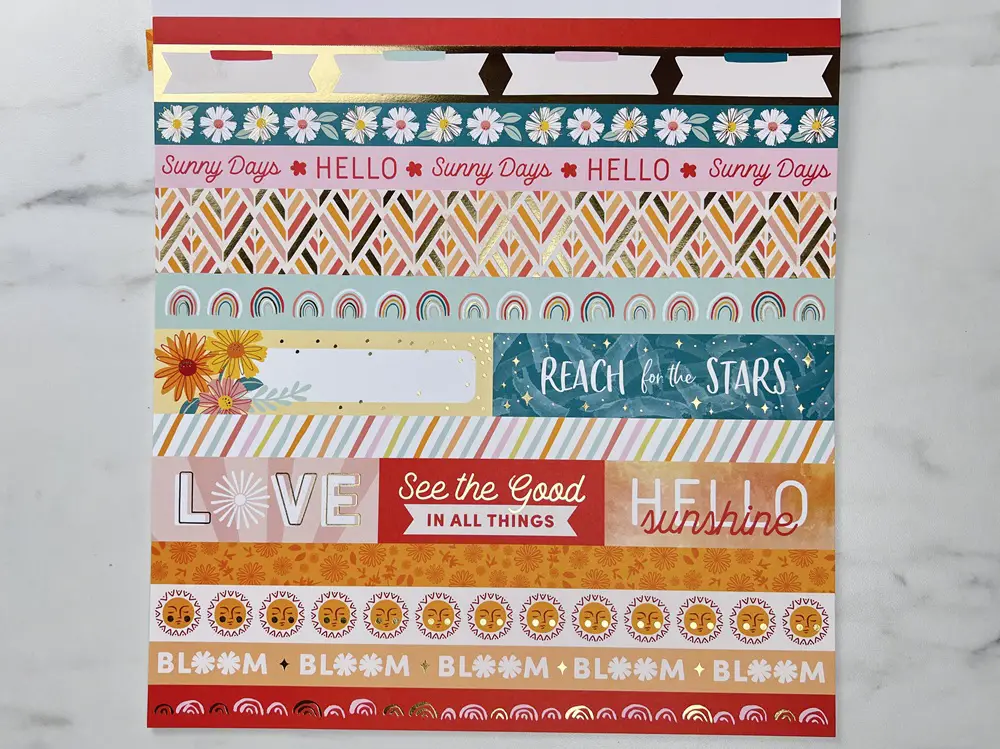
Flip through your booklet and find a sheet with embellishments, designs, phrases and the like. Most books have these. However, I will point out that most cardstock sampler packs from dollar stores do not.
When you find this page, cut out the phrases, or designs you like.
Pick matching cardstock
Now that you have several phrases cut out and other embellishments, it is time to flip through the sampler booklet and pick out colors of cardstock that match your design.
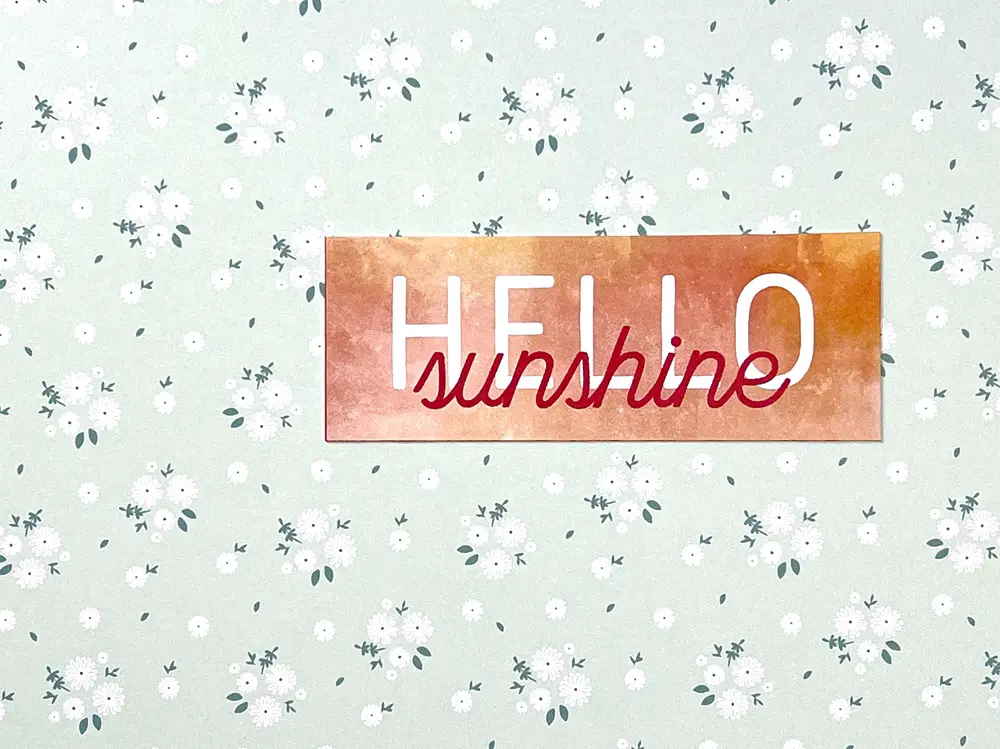
You can rip the whole sheet from the book or place your embellishments on that page to remember where you were looking.
Continue this process until each phrase and embellishment has a piece of cardstock to use as the card.
Selecting Card Sizes
Once your cardstock is selected, it is time to decide on the card size. This may sound silly, but not all card sizes are equal, and the phrases and embellishments you cut out in the first step might not all fit on the same size card.
So, look at your pieces and see what card size you want.
Here is a list of standard card sizes to help you out:
- A2 – 4.25″ x 5.5″
- A6 – 4.5″ x 6.25″
- A7 – 5″ x 7″
- A8 – 8″ x 10″
- A9 – 5.5″ x 8″
- slimline – 4″ x 10″
- square – 5″ x 5″
- Panoramic – 4″ x 9″
Cut the cardstock to the size you want. And remember, you do not need to cut all the cards to the same size. Let the embellishments and accents help you decide what size to make.
Assembling your Cards
This is where your creative juices really have to start flowing. You have the card base cut and fold, and have your emblements and accents, so now it is time to put it all together.
Before I glue anything on, I like to move things around and see how they will fit. The phrases don’t need to be perfectly centered, and the accents don’t need to line up. Let the card be wild and free! Once you are happy with the layout, using either glue, double-sided foam tape, or both, start to place the embellishments and accents onto the cards.
And there you have it! Your Cards from 12×12 paper samplers are Compete!
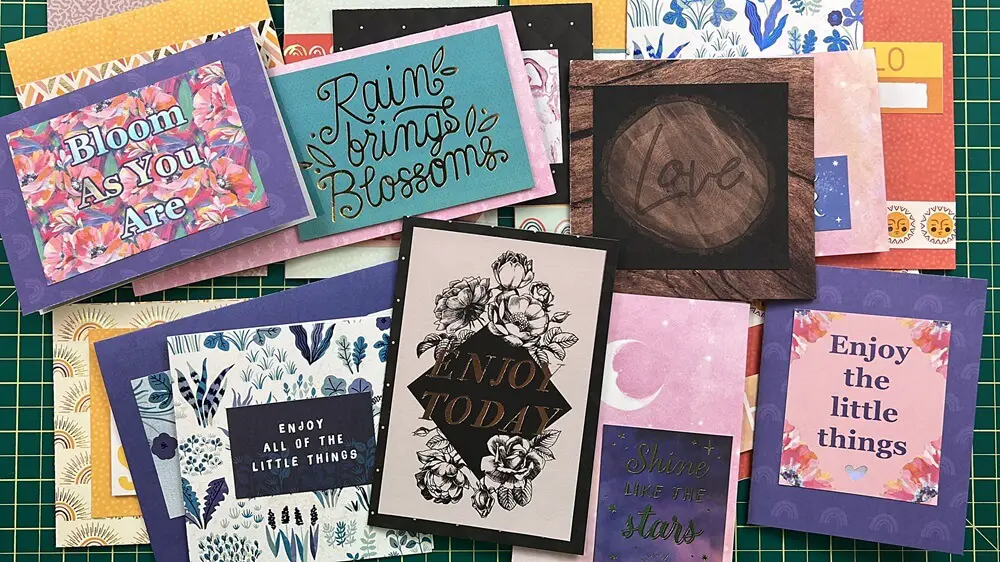
Things I learned about making cards with 12 x 12 paper samplers
Ok, let’s talk about learning during this craft:
- 12 x 12 paper samplers are fantastic! The thing I like best is that all the paper that comes in the sampler pack is color-coordinated. So every page in the sampler somehow works with other pages in the sample pack. As someone who always struggles with selecting colors, this is a great help!
- Most, not all but most, sample packs come with 1-4 pages of embellishments of sorts. It either has phrases or little images, or sections of ribbon, you name it. These are great additions to cards! Either as an accent word, line or image. And again, the color scheme matches all the papers!
- I set out to make a few cards, but this turned into a whole production since I have far too much paper. This entire event took about 2 hours.
- If you are only using one sample pack (not a whole bunch like me) you can easily make 4-8 cards from the designs and embellishments provided in one booklet.
Did you enjoy this craft?
Did you enjoy this paper craft? Let me know in the comment below. If you like paper crafting, be sure to check out my other paper crafts here


Could you please give me a link to a 12 x 12 cardstock sample pack. I am not sure what that is and I didn’t find anything by that name in Amazon.
Hi Ivy – It’s hard to tell which sample packs on amazon have pages with embellishments that can be used. I found this one here that should some – https://amzn.to/3NX7cLQ These ones are cute, also, but I’m not sure if they have pages inside with phrases https://amzn.to/4fhliUo
I will keep looking and when I find one that I like I will update the links on the post.
I hope that helps!
Thanks for reaching out and happy crafting!
Katherine
Hi Ivy, search for Echo Park Paper Company. They are on Amazon, as well as a lot of scrapbooking supply websites. Their 12 x 12 paper packs come with embellishment pages & phrases in all kinds of themes. They will tell you in the description if their elements are stickers or paper, as well. If you do 6 x 6 paper packs, they usually have matching sticker pages & ephemera packs you can buy separately. However, I feel the 12 x 12 packs are more cost effective overall. Hope this helps.