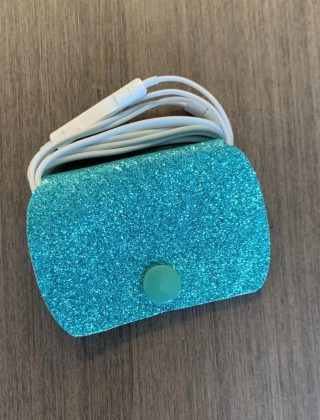
I’m not sure what has been going on in my head recently, but I have been on a bookmark kick. I have been making all sorts of bookmarks and I fear these may not be the last ones. But while I am crazy about making bookmarks, I have decided it is time to make some free bookmarks in Cricut Design Space. Why? Well, why not! And free is my jam, so let’s make some free bookmarks in Cricut Design Space! Yay!
Supplies needed to make free bookmarks in Cricut Design Space
OK, there aren’t many supplies that we need for this project but we still need to go over them. So, here goes!
- Cardstock – For this project, I used scrap paper. I have a whole bin of it, and I thought it would be good to use up 1 or 2 pieces. But if you do not have scrap cardstock, you can use regular 60lb cardstock. I normally use this stuff.
- Glue – My faithful craft glue is always needed for projects.
- Permanent Vinyl – This is if you want to use vinyl instead of cardstock. I used the scraps I had from this package.
- Transfer paper – if you are using vinyl, you will need transfer paper. I use this stuff.
- Access to Cricut Design Space
- Cutting machine – In this case, we are working with Cricut Design Space, so you will need a Cricut machine. I used my Explore Air 2, but for small projects like this, I could have used my Cricut Joy.
Ok, now that we have all our supplies, it’s time to get this project started!
Making a Free Bookmark Design In Cricut Design Space
Ok, so making the design in Cricut Design Space is fairly quick. The hardest part is figuring out which design you would like to use. As usual, I’m leaning towards flowers, they are fun and plentiful. So let’s get designing.
Making the bookmark outline
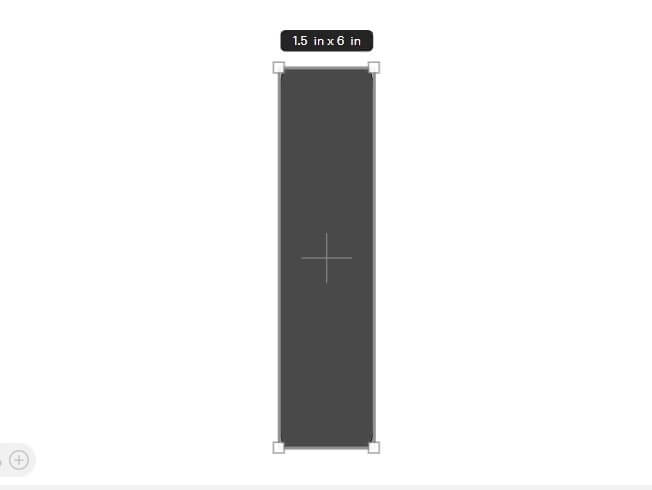
Using the Shapes Menu, pick out a square or rectangle. I picked the square with a rounded edges. Next, unlock the dimensions proportion lock, and adjust the size to be 1.5″ wide and 6″ high.
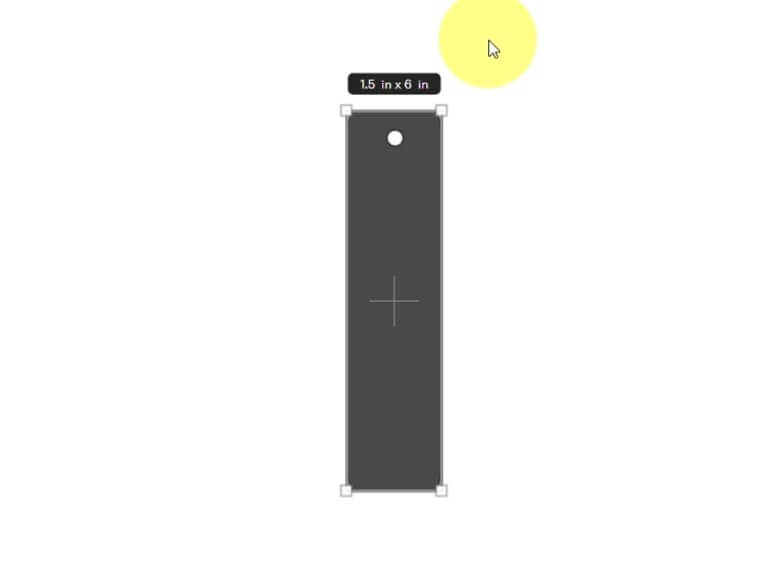
If you want a tassel on the bookmark, you can add a hole. Select a Circle from the Shapes Menu, reduce the size and place it on the rectangle. Find a spot near the top where you want it located. Next, select the rectangle and the circle, and align them so they are centered horizontally. While both items are still selected, Slice the two items. This will give you a hole in the bookmark for a tassel.
If you want to learn how to make tassels, I have a video that teaches you how. You can watch here.
Now that we have the outline of our bookmark, it is time to make several Duplicates. This way we can make several bookmarks.
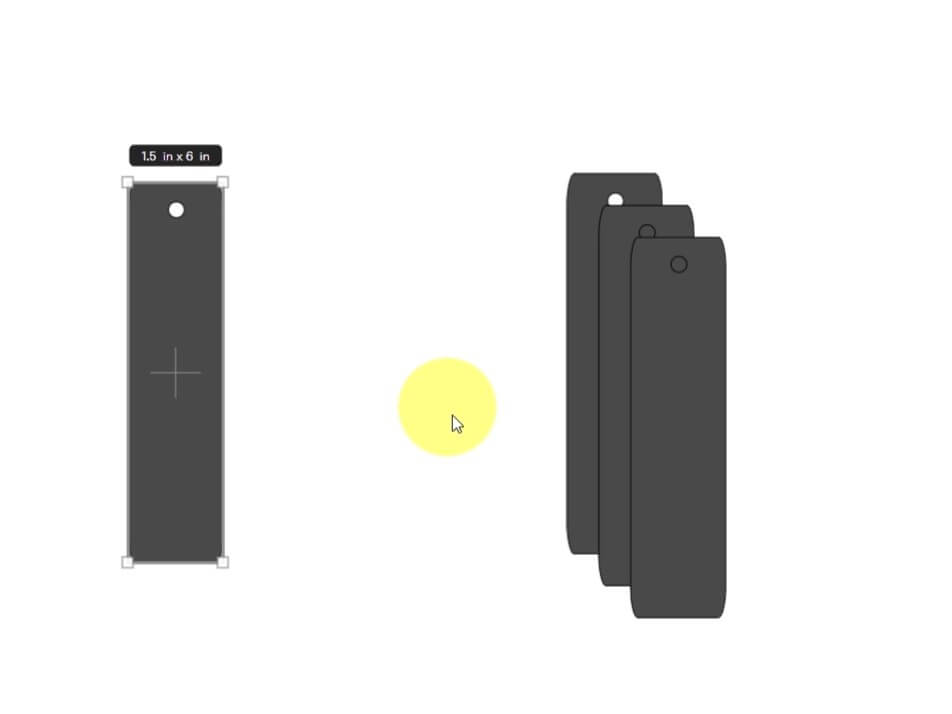
Also, make one extra bookmark and place it aside. This is your backup bookmark outline. This will be used if you mess up your design, or if you need more outlines. Trust me, this is a good thing to have in your back pocket.
Picking the bookmark Designs In Cricut DS
Ok, for the fun part! Picking the design!
Select the Images Menu, and in the search bar, type in flowers (or whatever design you want on your bookmarks). Then, select the filter button (two or three lines with circles on them) and select Free. This will show only free images, which is what we want.
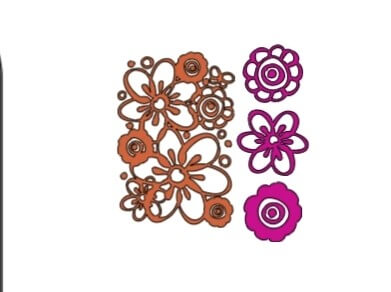
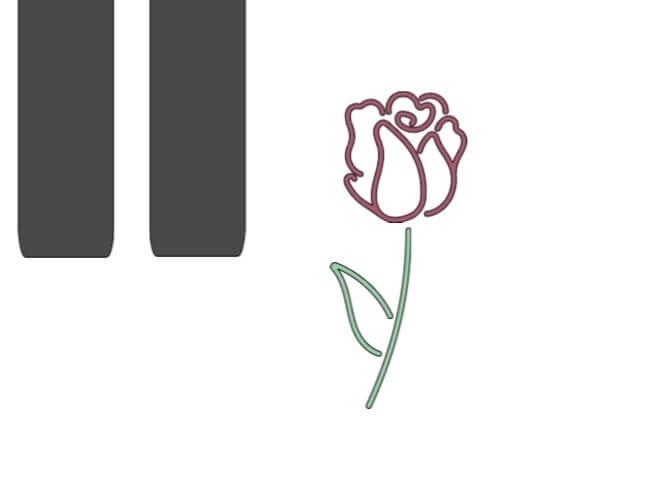
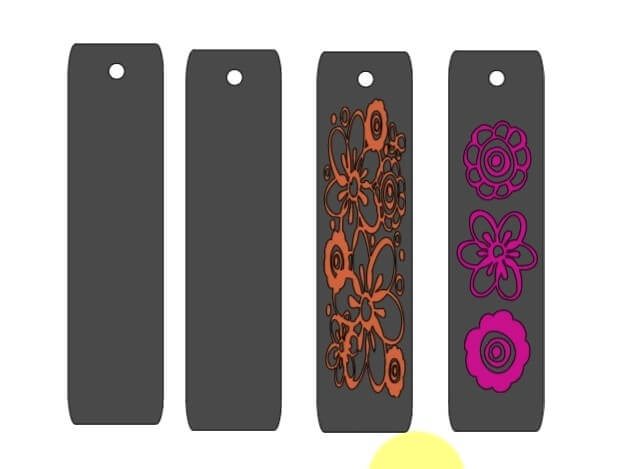
Scroll through the images until you find something that you like. In my case, I found two designs that I like, one is a rose and the other is two sections of flowers in pink and orange.
Now that we have our designs it is time to clean them up for our bookmarks.
Modifying the Rose Design for a Bookmark
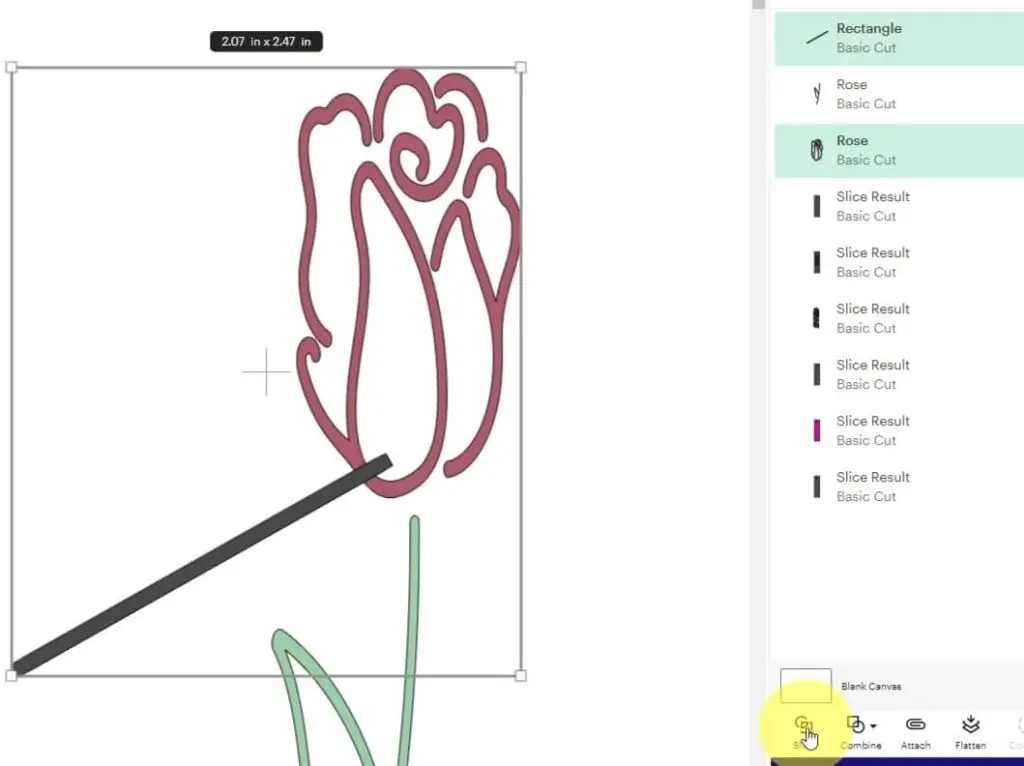
I like the rose, but I know that if I don’t make a small adjustment, the whole thing will fall into pieces and I don’t want that. So, I’m going to add a rectangle to my design. Shrink it down so it is thin and long. Then, I placed it near the bottom of the rosebud to cut through part of the design. Selecting only the rose, I Ungroup it so we have 2 pieces. Next, select the rosebud and the rectangle and Slice the pieces apart. Now, grab all the sliced pieces and Delete them.
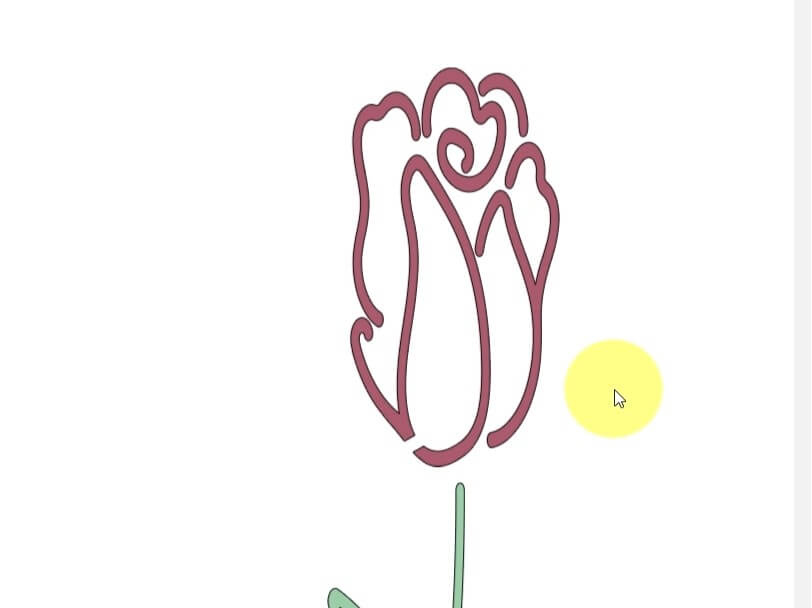
Now, that our rose is ready, it is time to finish the bookmark design.
Place the rose over one of the blank bookmarks. Make sure to grab both pieces at the same time. Then, working one piece of the rose and the bookmark outline at a time, select the two items, and Slice them apart. Repeat for the second part of the rose.
Next, grab 2 additional outlines. Place the 3 bookmark outlines next to each other. Select all three and Align them at the top.
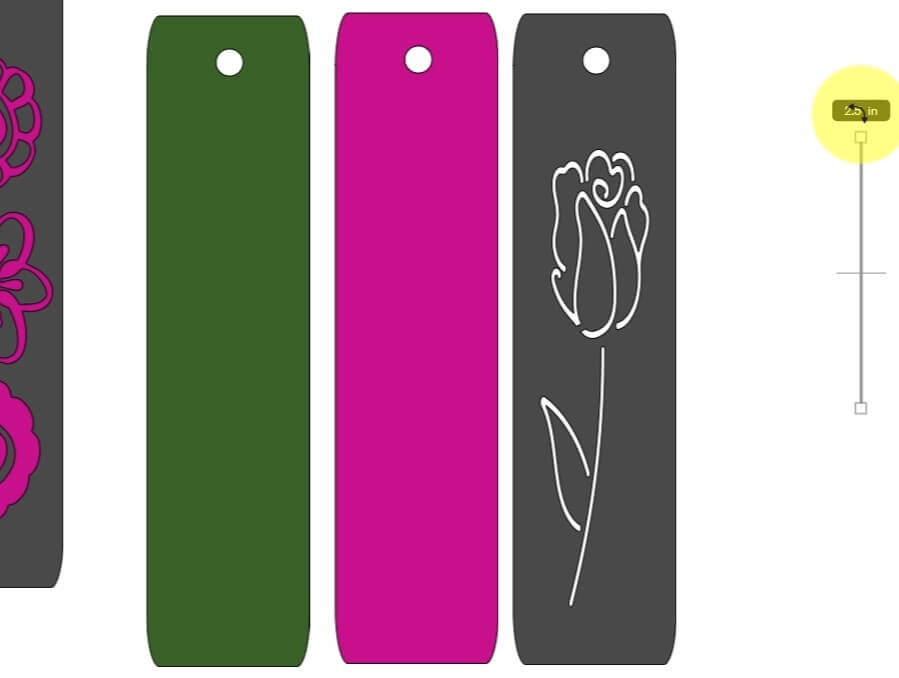
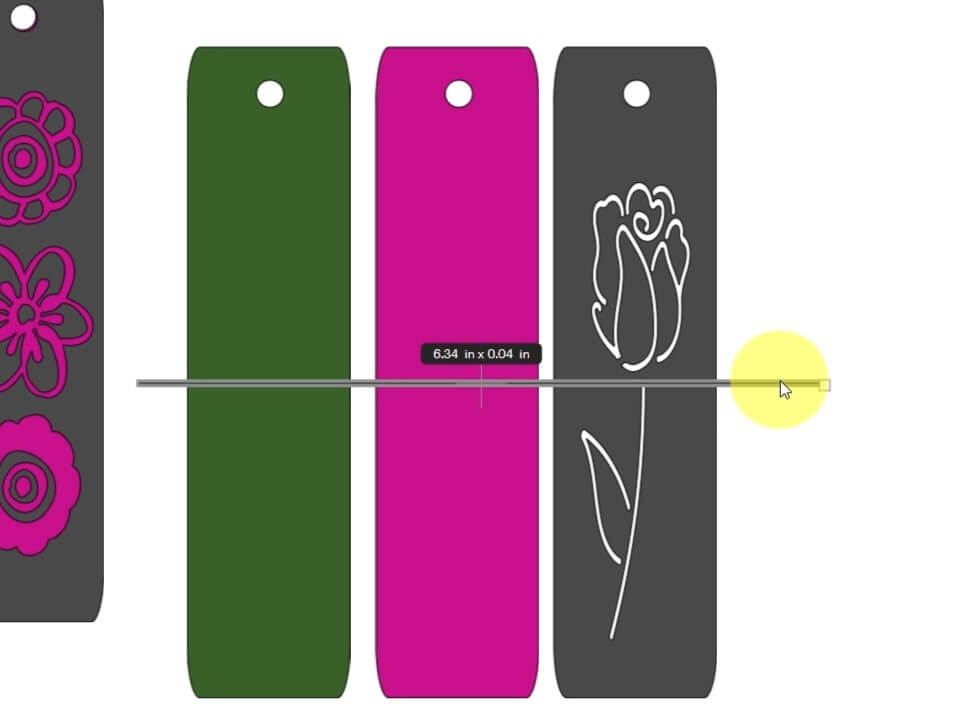
Now, select a rectangle, and make it very narrow, almost a line, and long enough to go over all 3 bookmark outlines. Place the rectangle between the top of the rosebud and the stem. Then, using the rectangle and the other two bookmark outlines, one at a time, Slice them with the rectangle.
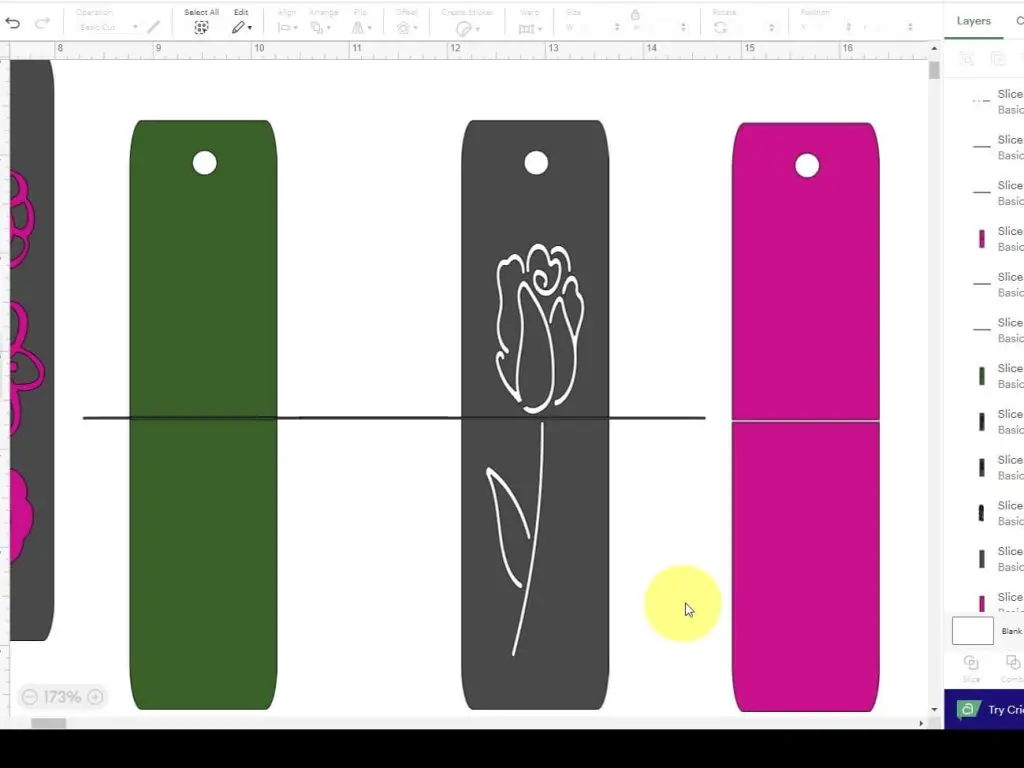
Now you should have 2 bookmark outlines, each sliced in half. Since we have sliced the bookmark outline in half, they are still connected to each other. That means the top and bottom will move as one piece if we move them on our canvas. There are several ways to address this, but this is the way I like to do it.
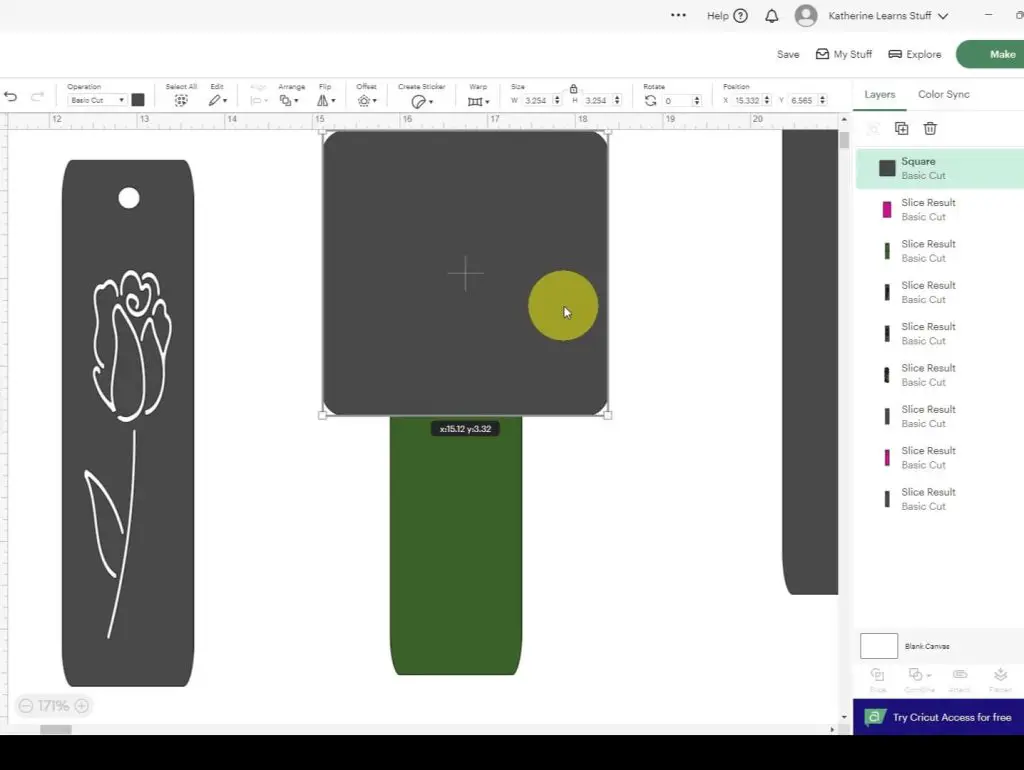
Add another rectangle to your canvas. Place it over the top half of one of the sliced bookmarks. Stretch the rectangle so it covers the whole section of the bookmark outline. You need to ensure that it goes to the gap of the slice but not past. Then, select the new rectangle and the bookmark outline and Slice the two pieces. Delete all the sliced Pieces. Repeat this for the second bookmark outline but work with the bottom half.
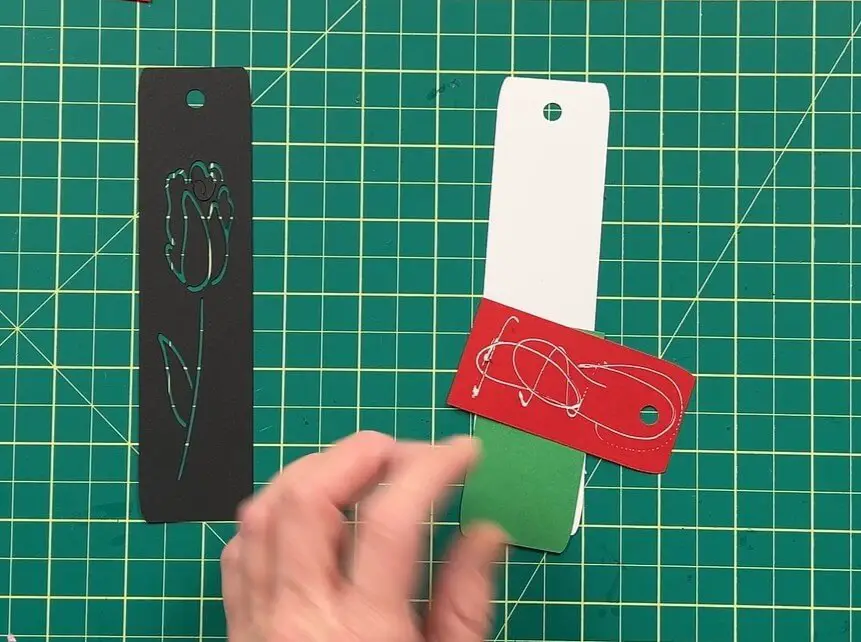
Change the color of the top section to red, and the bottom section to green.
Then, select one more bookmark outline and change the color to something other than black, red or green. This will be the back of your bookmark.
Assembling the Rose Bookmark
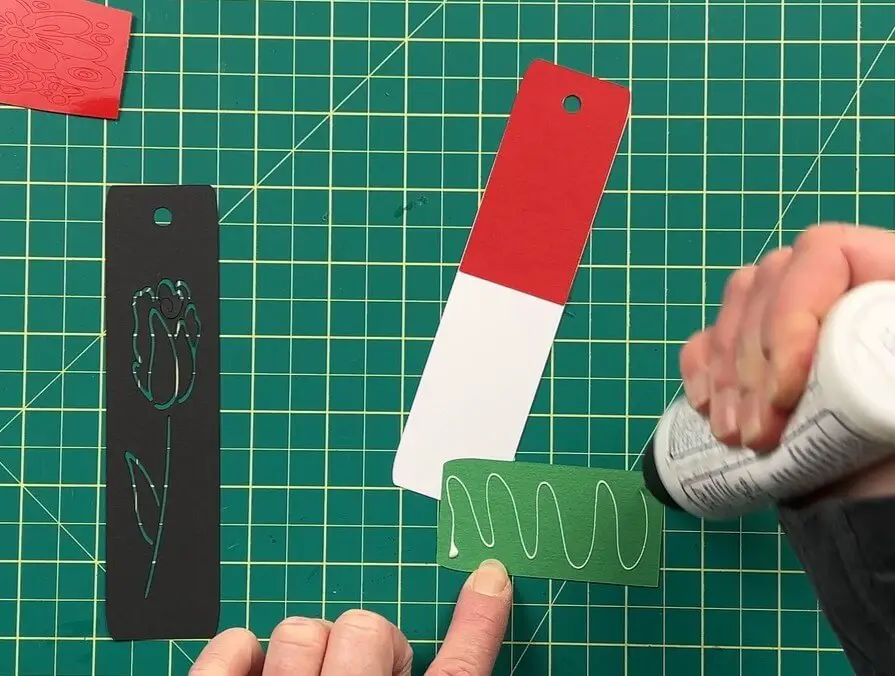
Send the pieces to Make and cut them out in cardstock.
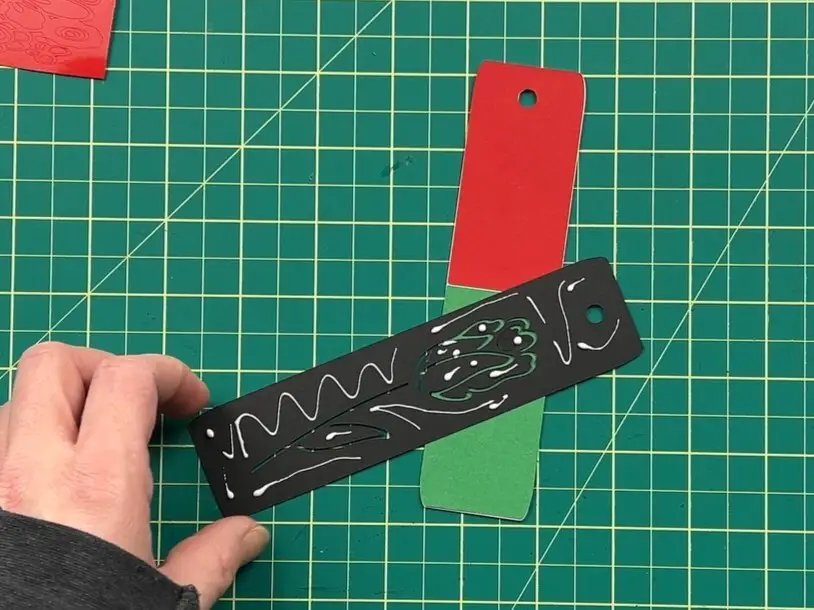
Once you have everything cut out, glue all the bookmark pieces together. Place the black on top, red and green in the middle, and a nice patterned cardstock on the back.
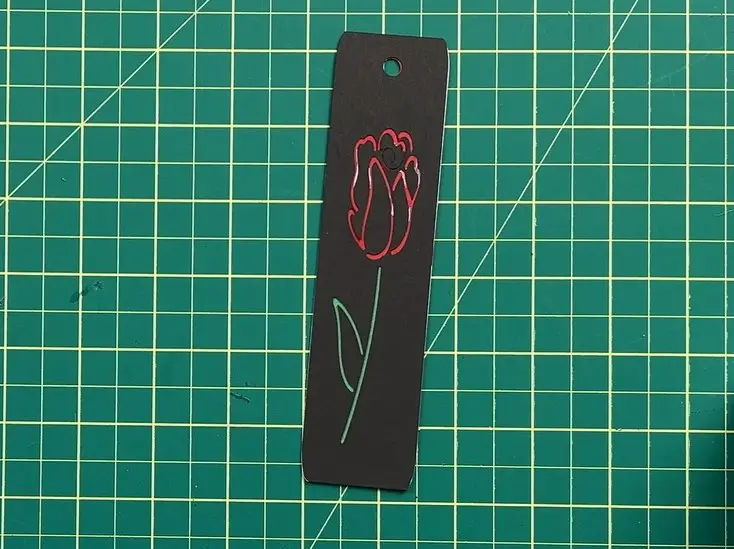
And now your rose bookmark is complete!
Modifying the Flower Design for a Bookmark
The next design I selected has two elements. I’m going to try to work with the two pieces separately. This will allow us to keep things a bit more organized. But before we do that, we need to make a quick modification to the whole design.
Select this flower design, and Ungroup it. This will make the flowers into 4 pieces. 3-pink flowers in a row, and one long orange flower cluster. Then, select the 3 flowers in a row and Group them together.
Now we can work on these bookmarks individually.
Making a Flower Cluster Bookmark In Cricut DS
We are first going to work with the flower cluster. This bookmark is going to be made out of vinyl. The reason I want this is because there are lots of little pieces in this design, and vinyl is easier to work with.
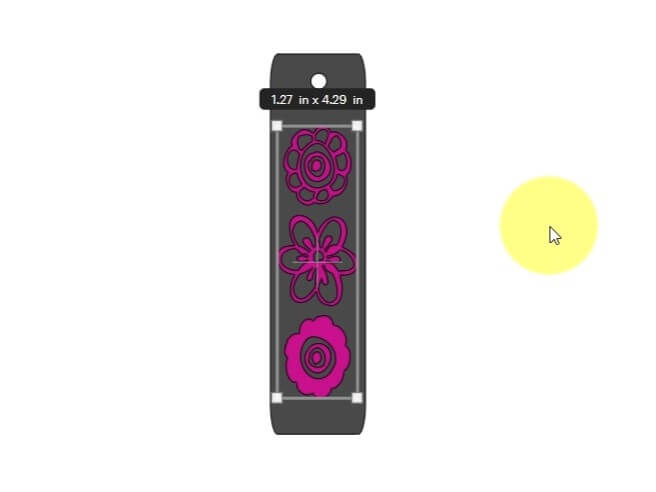
Grab a bookmark outline and place the flower cluster overtop. Next, modify the size by unlocking the dimension proportions lock so that it fits on your bookmark outline.
Send the design to Make and cut the outline in cardstock and the flower cluster in vinyl settings.
Weed the flower cluster to remove the surplus vinyl.
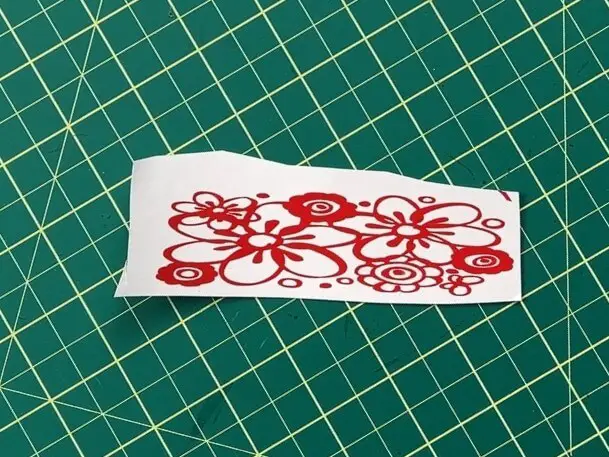
Using transfer paper, burnish the vinyl onto the transfer paper and remove the vinyl carrier sheet.

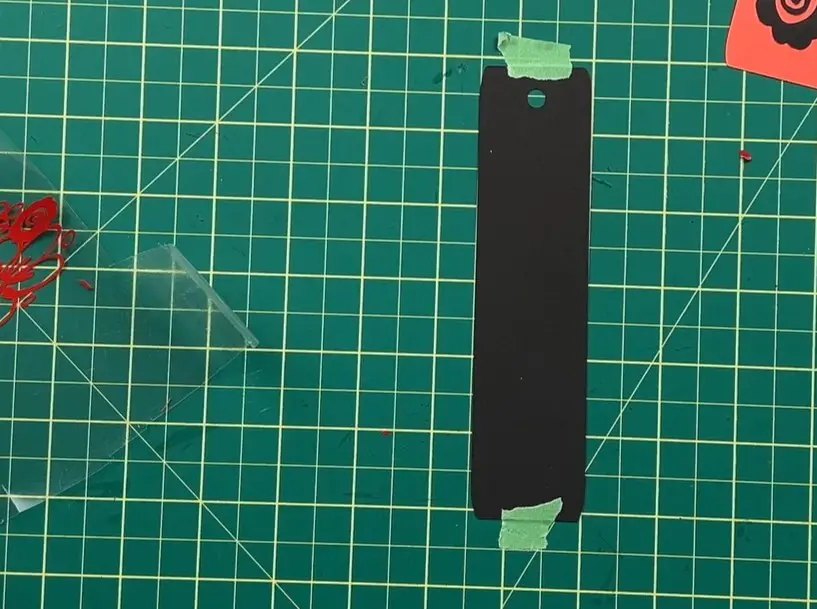
Using some painter’s tape, tape the bookmark outline onto the work table so the outline doesn’t jump up onto the transfer paper before you are ready to apply the design.
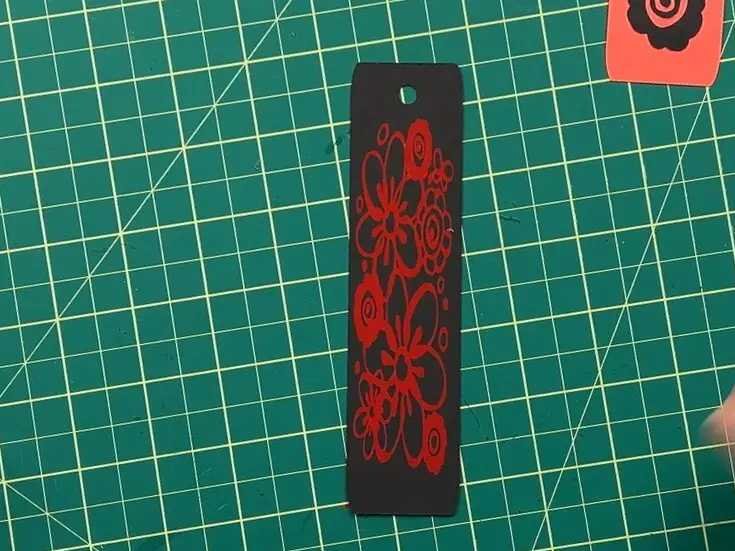
Slowly place the design over the bookmark outline and adhere it down. Press the flower cluster design down a few times and remove the transfer paper.
And your flower cluster bookmark is complete!
Making a Free Flower Bookmark In Cricut DS
When I planned this bookmark I dreamt of doing it differently. But things went a rye quickly, so the final bookmark was different than what I had originally intended. Fortunately for you, I do these crafts first and you can learn from my mistakes.
So, taking the second set of flowers – the row of three flowers.
Place them over a bookmark outline. Adjust the size so they fit within the design.
Change the color of the flowers to black, and the color of the outline to pink.
Send the design to Make and cut all the elements out in cardstock.
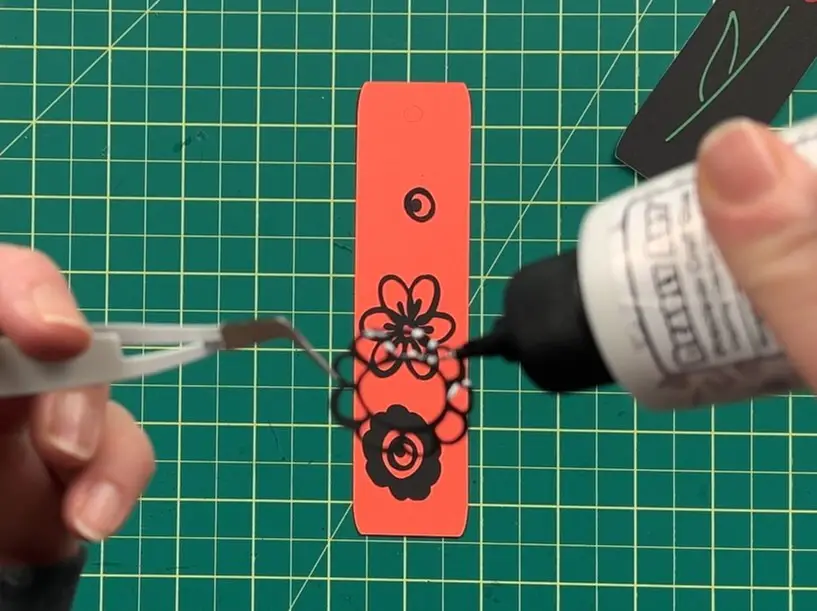
Once you have cut the design, with tweezers and glue, glue the flower pieces onto the bookmark.
Wait for the pieces to dry and add a tassel if you like. And your free flower bookmark is complete.

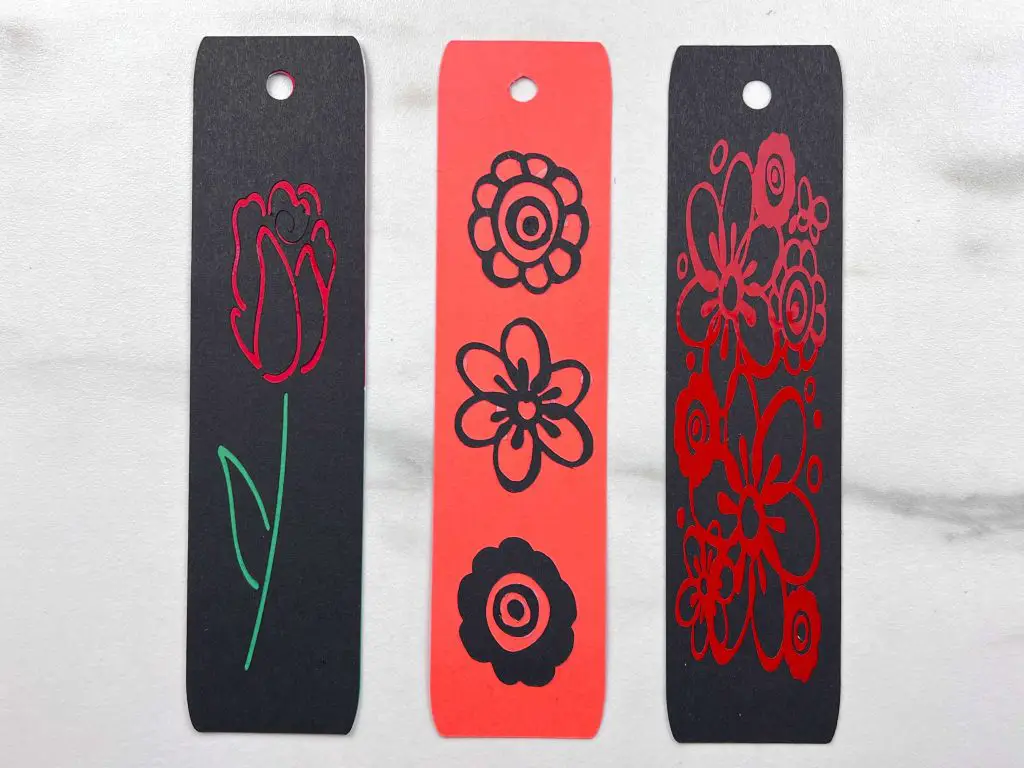
And there you have it! Your Free Bookmarks in Cricut Design Space are Complete!
Things I learned while making these Free Bookmarks in Cricut Design Space
Sometimes I like to reinvent the wheel, and that is what I feel like I did in this project. So, there was a fair amount of learning…. so, here goes.
- When working on the row of 3-flowers, I hoped to make the bookmark top black with more outlines and a bit of pink. But after cutting it up and having all the pieces fall away from me, I realized I was doing it the hard way. So I could have made the design and cutting work much easier. Fortunately for you, I only described the easy way.
- Similarly with the vinyl flower cluster. When playing with the Design in Cricut Design Space, I made a few designs of the same thing for no reason. All I needed to do was to resize the design and cut it out. But sometimes things need to be done the hard way to make them work out the easy way, I guess.
- The rose bookmark is probably my favorite. I like the added paper at the back to give it more character.
- My current plan isn’t to add tassels to these bookmarks, but I might change my mind later. We’ll see. But if you want to learn how to make tassels, you can learn in this video here.
Did you enjoy this card on How to Make Free Bookmarks in Cricut Design Space?
Did you enjoy this card on How to Make Free Bookmarks in Cricut Design Space? Let me know in the comments below! If you tried it out, let me know how it turned out!
Do you like making paper crafts? If so, check out my other papercraft projects here.
If you want to learn how to make other bookmarks, check them out here.