I like to make stickers. They are a fun addition to all things crafty. But the one thing I don’t like about stickers is how much sticker paper gets wasted when using Cricut Print Then Cut. Cricut has increased the Print Then Cut size and although it is bigger if you’re not paying attention, Cricut Design Space will just put your stickers wherever it wants and still waste sticker paper. So, I wanted to walk you through how to maximize print then cut size with Cricut.
As an Amazon Associate, I earn from qualifying purchases. This post contains affiliate links. I may receive a commission if you purchase an item from one of my links. This will not change the price you pay.
Supplies needed for maximizing your print then cut size with Cricut
- A Cricut Machine – either an explore series or a maker series machine. This won’t work with a Cricut Joy.
- Sticker Paper – Currently, I am using this Koala Sticker paper. You can read my thoughts on the difference between Cricut Sticker Paper and Koala sticker paper here.
- Printer – I use my Epson Eco-Tank, but you can use any printer.
- Cutting Mat – For this project you will need cutting mat.
- Designs in mind to print – I used several free images from Cricut Design Space and some of my Flower stickers which are available here.
- Template for maximizing Print Then Cut sheet design – you can get my template below by signing up for my newsletter.

Now that we have all the pieces needed, it is time to get started.
Let’s make stickers with the maximum print then cut size
Upload the template to maximize your print then cut stickers
Ok, so once you have a copy of my free template, it is time to upload it to Cricut Design Space. Here’s how we do it.
- Unzip the file –
- Right-click on the file with your mouse and select Unzip
- Select a location where you want the file to be saved.
- Hit Enter and your file will be unzipped and saved.
- This template is broken down into 5 different sizes to accommodate different sticker paper sizes. The files are:
- 8.5×11 Template
- 8.5x 14 Template
- 11×17 Template
- A3 Template
- A4 Template
- Upload the file to Cricut Design Space.
- Select the Upload Icon on the left side of your screen.
- Select the Upload Image button.
- Select the File from the location where the file was saved from above.
- Select the file from your DS Recently Uploaded documents. There should be a green rectangle around it.
- Hit the Add to Canvas button.
Depending on the size of the sticker paper, you will need to select the correct template size. I use the 8.5” x 11” paper size.
Modifying the sticker template to maximize sticker paper usage
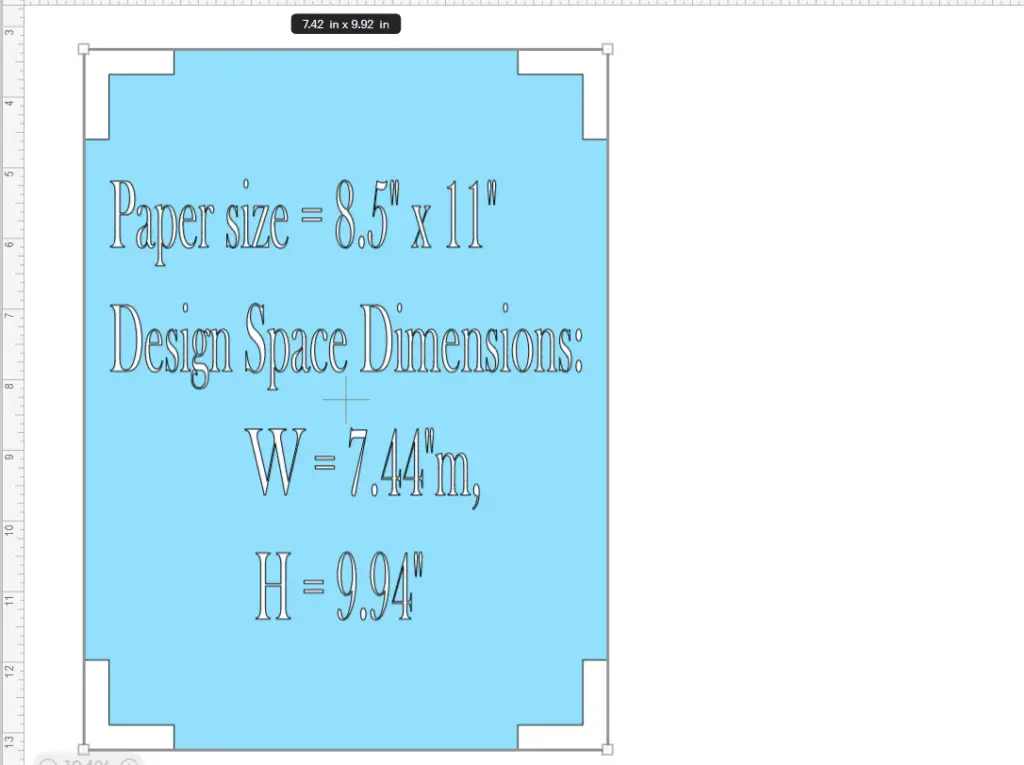
Once you have selected the file to match your paper size and have it in Cricut Design Space, there are a few modifications that you need to make. For some reason, when importing files into DS, they do not come into DS in the size they were designed. So, you will need to adjust the size of the design.
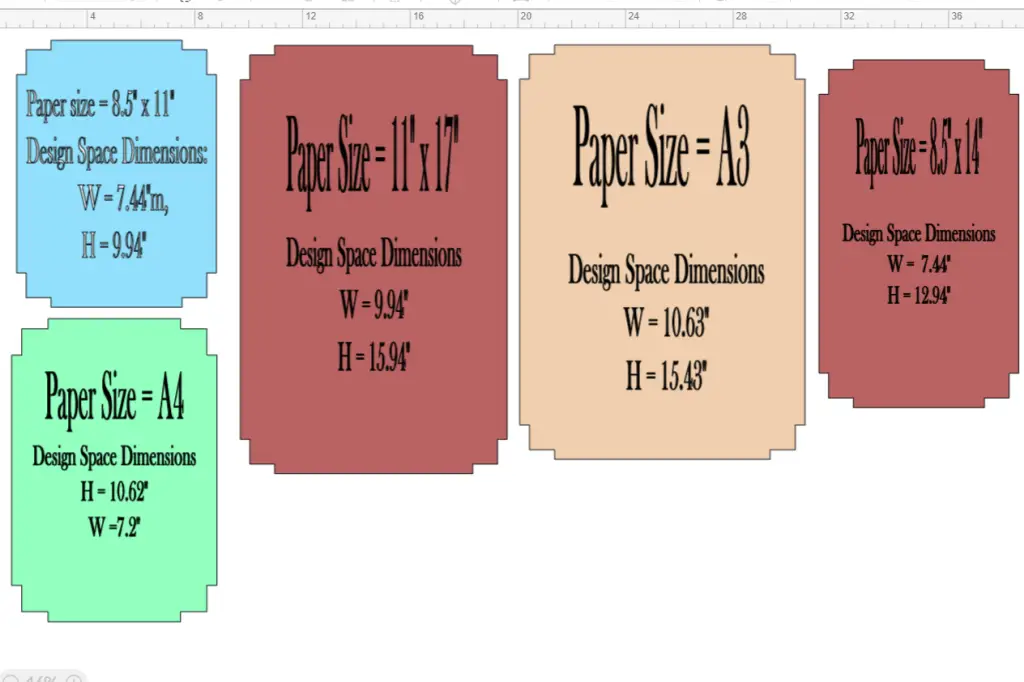
Here are the sizes for each file:
- 8.5×11 Template – W = 7.44″, H = 9.94″
- 8.5x 14 Template – W = 7.44″ , H = 12.94″
- 11×17 Template – W =9.94″, H= 15.94″
- A3 Template – W = 10.63″, H = 15.43″
- A4 Template – W = 10.62″, H =15.94″
When changing the sizes, I recommend keeping your Dimensions Lock on. This will size the whole design accordingly.
Sometimes, one of the numbers may be slightly off. This can be adjusted by unlocking your dimensions lock and modifying the second dimension to be exactly as it is in the list above you can. I recommend using the exact dimensions I have provided. This will ensure maximum paper usage and avoid errors in oversizing the template.
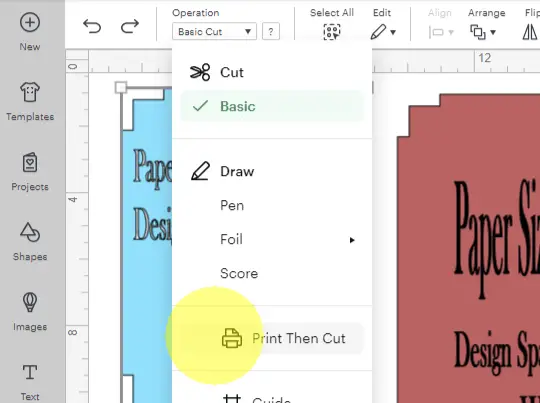
Next, you need to select the whole design and change it from a Basic Cut to a Print Then Cut in your Operations Drop Down Menu.
At this time, you can select the text with the size details and delete it if you would like.
Now, the template is ready for use.
How to change your paper size for print then cut
I only use 8.5” x 11” paper and sticker paper, but some people use different sizes. So, in case you have other sizes, here are the steps you need to follow to change the paper size.
Let’s open Cricut Design Space and get started.
change the paper size on your computer
You can be on your home screen or your canvas to make this change.
At the top right side of Design Space, you will have your name with a little down arrow next to it. Click the arrow, and a menu will appear.
In this menu, select the Settings Option. This will open a new dialogue box.
At the top of this dialogue box, there are tabs for different settings. Select the Load Type tab.
At the bottom of this screen, there is a Print then Cut Page Size Drop Down Menu.
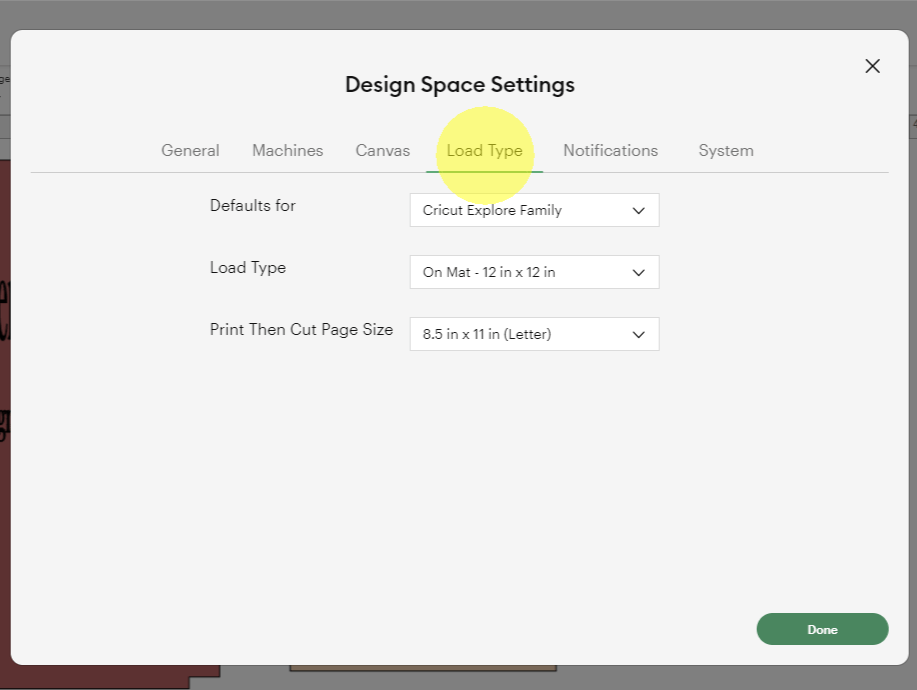
This menu is where you will select which paper size you want to use. You can select one of the 5 following options:
- 8.3 in x 11.7 in (A4)
- 8.5 in x 11 in (Letter)
- 8.5 in x 14 in (Legal)
- 11 in x 17 in (Tabloid)
- 11.7in x 16.5 in (A3)
I use 8.5″ x 11″ as that is the size of my sticker paper.
change the paper size on your IPad
On your DS Home Screen, hit the 3 lines. This will open up your menu on the left side of the screen. Then, select the Settings Menu. This will open a further menu. From here, select Print Then Cut Settings. A new window will open, as shown here.
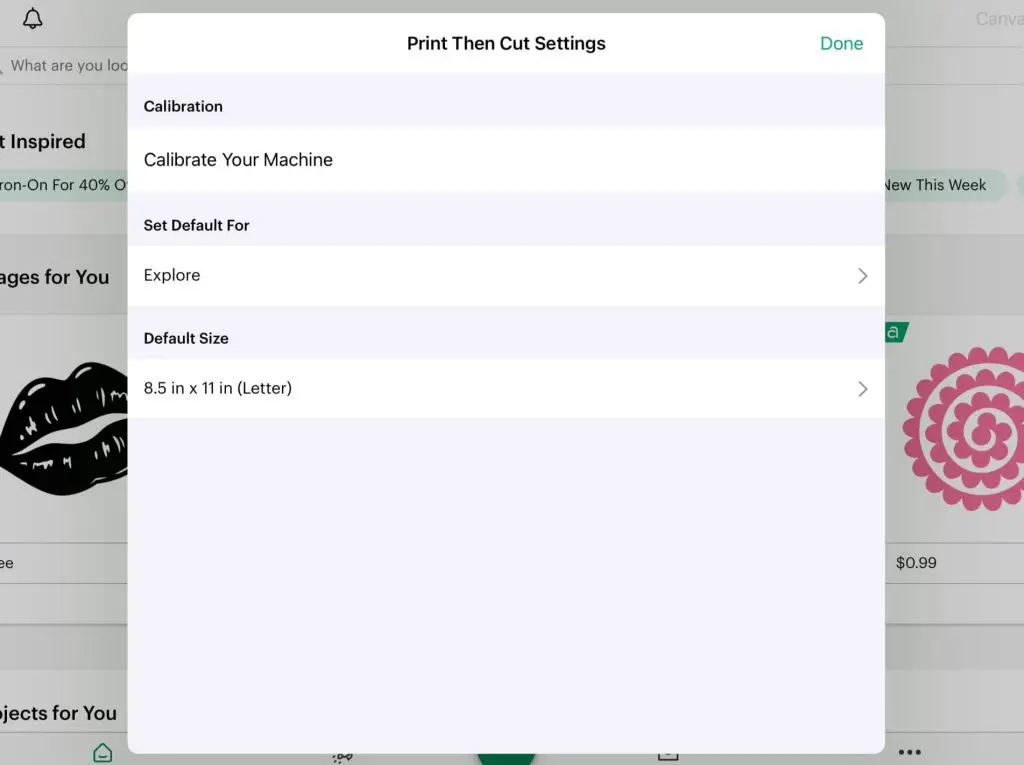
At the bottom of the dialogue box, there is a drop-down menu called Default Size. When you select this menu, you will have a choice of selecting one of the following paper sizes:
- 8.3 in x 11.7 in (A4)
- 8.5 in x 11 in (Letter)
- 8.5 in x 14 in (Legal)
- 11 in x 17 in (Tabloid)
- 11.7in x 16.5 in (A3)
I will leave mine at 8.5”x11”.
Using the template to maximize your print then cut size
Now that the template is ready and all the changes have been made in DS, we can start using it!
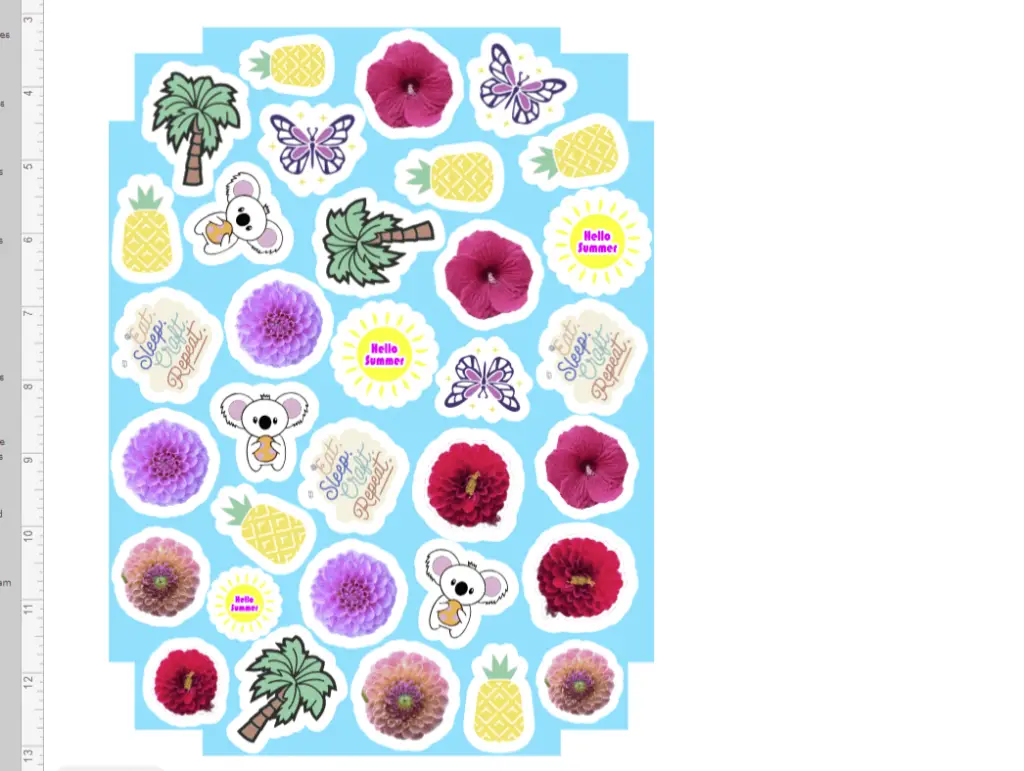
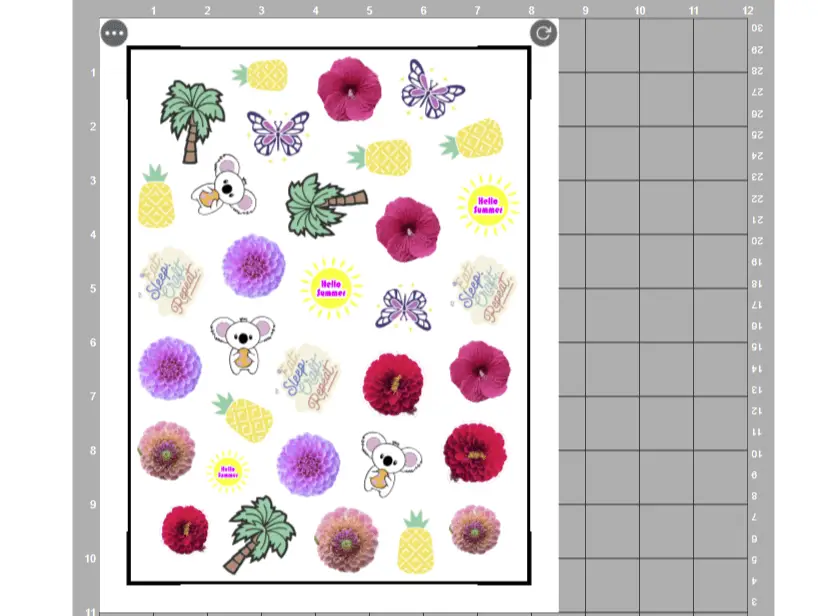
This template is the space you can use in your Print Then Cut area.
Place the stickers that you want on top of this template. Arrange them in any way that you like to maximize the space. You can move them around and place as many as you like in this area. Make them bigger, smaller or stretch them however you desire.
Once you have the template filled with stickers – select the template (and the size details if they are still on the canvas) and delete it.
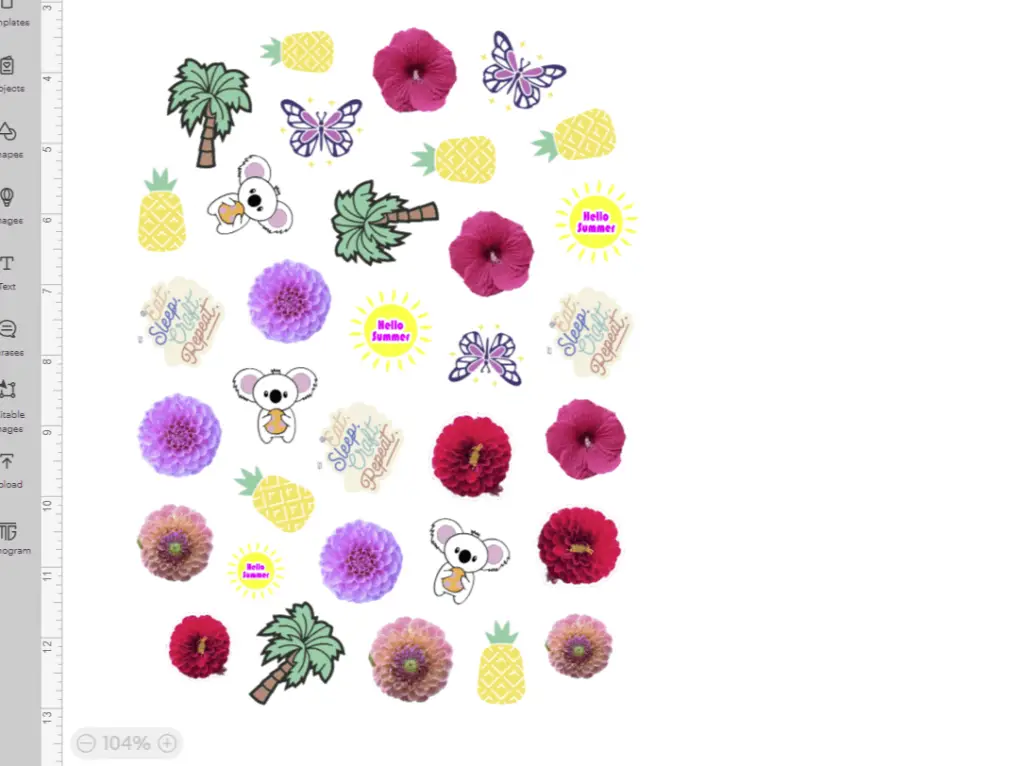
Then, select all of the stickers at once, and Attach them together.
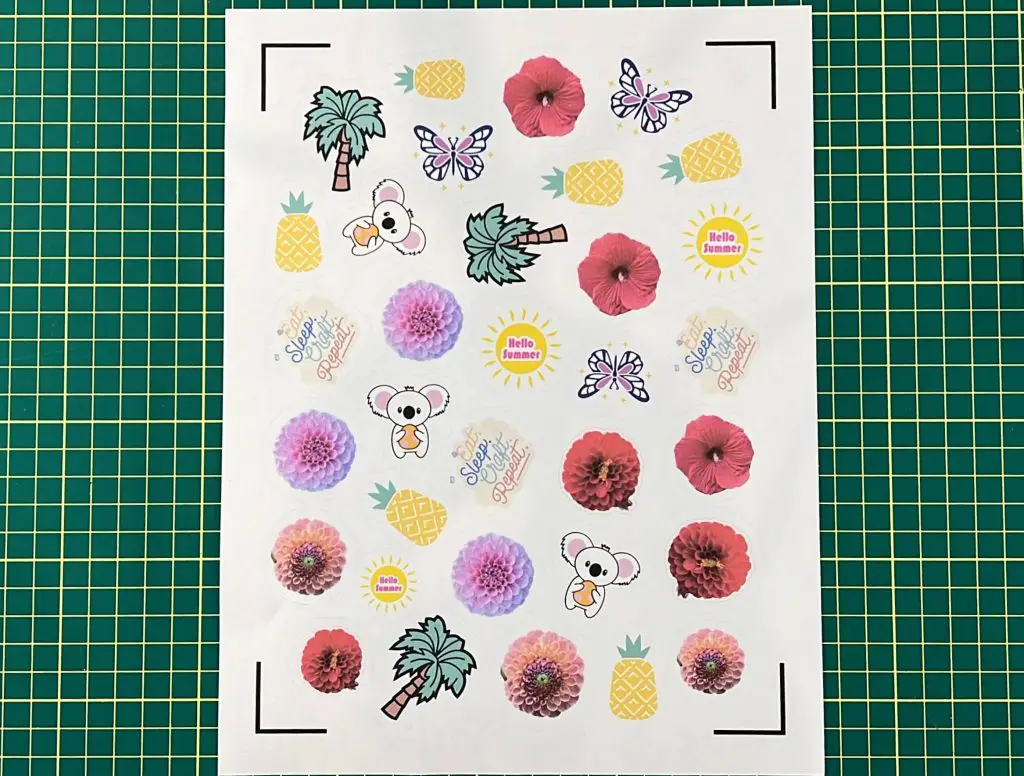
Finally, hit the Make button in Cricut Design Space and send this to Print Then Cut.
And there you have it! Now you can maximize your Print then Cut with Cricut
Things I learned while working with Print then Cut
I have only recently started doing Print Then Cut with my Cricut because I didn’t have a printer before. But now that I have one, I try to use this feature whenever I can. I only really use it for sticker making, but that might change. So, here are my latest takeaways while trying to maximize Print Then Cut size with Cricut.
- Cricut Design Space will arrange your Print Then Cut designs however it wants to. I find that this will waste a lot of paper. So, having a template helps stop paper wastage and lets me move the stickers around faster to fill a sheet.
- In this blog post, I do not go over how to make stickers. I already have them ready on my canvas. If you want to read more about making stickers and the steps needed to get them to turn out great, I have left some links below. Remember to flatten!
- The templates that I have made were designed by trial and error. If you were to try to Print Then Cut the template in the cutting mat section, you will notice that the template has room to move around (up-down & left-right). If you want, you can slowly increase the size by 0.01″ in either height or width, but I found that doing that for either would make the size of the template too large and then it would not work.
- If you get a red exclamation point next to your template when you have imported it into DS, before you start troubleshooting, make sure you have the correct dimensions set on the template and then check that your paper settings are correct in DS. If you still have an exclamation point, I recommend you decrease the width by 0.01″ manually with your dimensions lock off. Then, you can do the same for the height if the exclamation point is still there. If you let DS make the changes for you automatically you might end up with a super small space below the black markers in the Print Then Cut space.
- I have not used the other size templates. I have only used the 8.5″ x 11″ template. I have tested all the size templates in DS and they all work in that the sizes fit the max size for Print Then Cut. However, as I do not have paper of any of those sizes, and as my printer does not print all those other sizes, I have not been physically able to try them out and see if they work. Based on successfully getting to the cut mat section in DS after hitting MAKE, with no errors, I suspect they do work. But, if they do not work or there are issues, please let me know. I made the other sizes as I know Cricut can support those.
Did you enjoy this tutorial learning how to maximize Print then Cut size with Cricut?
Did you enjoy this tutorial learning how to maximize Print Then Cut size with Cricut? Let me know in the comments below. Did you try using this template? How did you like it?
If you enjoyed this tip, be sure to check out other tips and tricks here.
If you enjoy making stickers, check out some of these sticker projects I have done:
- How To Make Drawings Into Stickers
- Inspirational Quote Stickers With Cricut
- How To Make FREE Valentine’s Day Stickers
- Make Flower Stickers With Your iPhone And Cricut
- How To Make Simple To And From Labels With Cricut