The Trouble With Identical Baseball Hats
I have twin girls. I don’t dress them the same and I make a concentrated effort not to buy two identical items. However, there are times when it’s just not possible to buy only one item of that design. Here comes the story of the identical baseball hats.
The girls want to be like their dad and wear a baseball cap. They don’t want to wear the big brim hats that little kids wear anymore. So I found some cute ones at the dollar store that princesses on them. So I had to buy two princess hats…. TWO IDENTICAL HATS! Even though the hats look identical my girls can tell the difference. They can always tell the difference… we cannot. If we make a mistake and give the wrong hat to one of them, their sisters’ hat, it is the end of the world. I am not exaggerating, to them it is the end of the world.
End Of World Meltdown Averted
This is where mom‘s handiwork comes in to play. Over the last while I have learned how to avoid these end of the world meltdowns. I will customize items like this with a small vinyl decal so that we know who’s hat is who’s. I’m not a fan of using their name on the clothes and hats. I have some fear of strangers knowing their names in public places…. I’m weird like that, anyways, I digress…
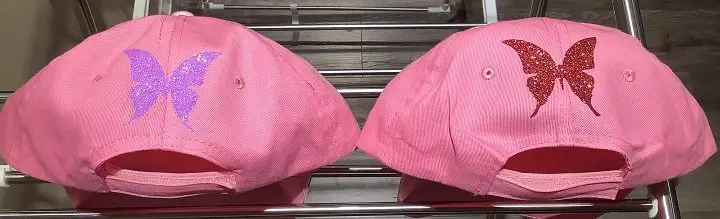
So I decided to learn how to put decals on baseball caps… so now they have identical hats that are no longer identical hats.
How to Customize Hats!
Seldom do my kids like to have the exact same thing but the other day there was a baseball princess cap that they both needed these identical hats. The funny thing about kids is that they can tell the difference between two identical objects but parents can’t. So, I needed to make the hats slightly different to avoid hurt feelings and meltdowns.
I had never put anything on a baseball cap before so decided to give it a try. Read below for the full tutorial and some tips on how to make it work better.
As an Amazon Associate, I earn from qualifying purchases. This post contains affiliate links. I may receive a commission if you purchase an item from one of my links. This will not change the price you pay.
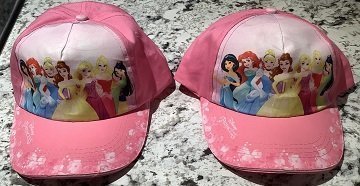
These are the identical hats before anything was done to them.

What You Need:
- At least 1 baseball cap. Two or more identical hats is also an options ;P
- Idea for a decal.
- Way to make and cut the decal. I use my Cricut and Design Space.
- Vinyl
- Teflon paper – optional
- About 30 minutes time
Let’s Begin!
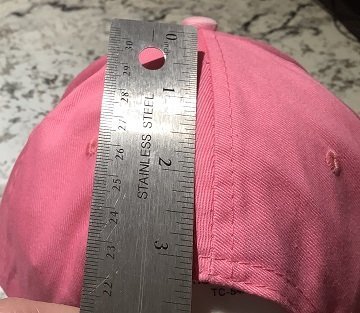
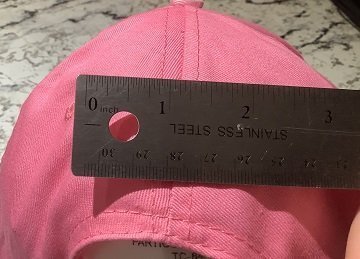
Measure your Identical Hats
- There’s an old adage that says – Measure twice, cut once. This is crucial. Measure your work space. I measured the vertical and horizontal space on the hats to get a good idea of how much workable space I had.
Make the Design
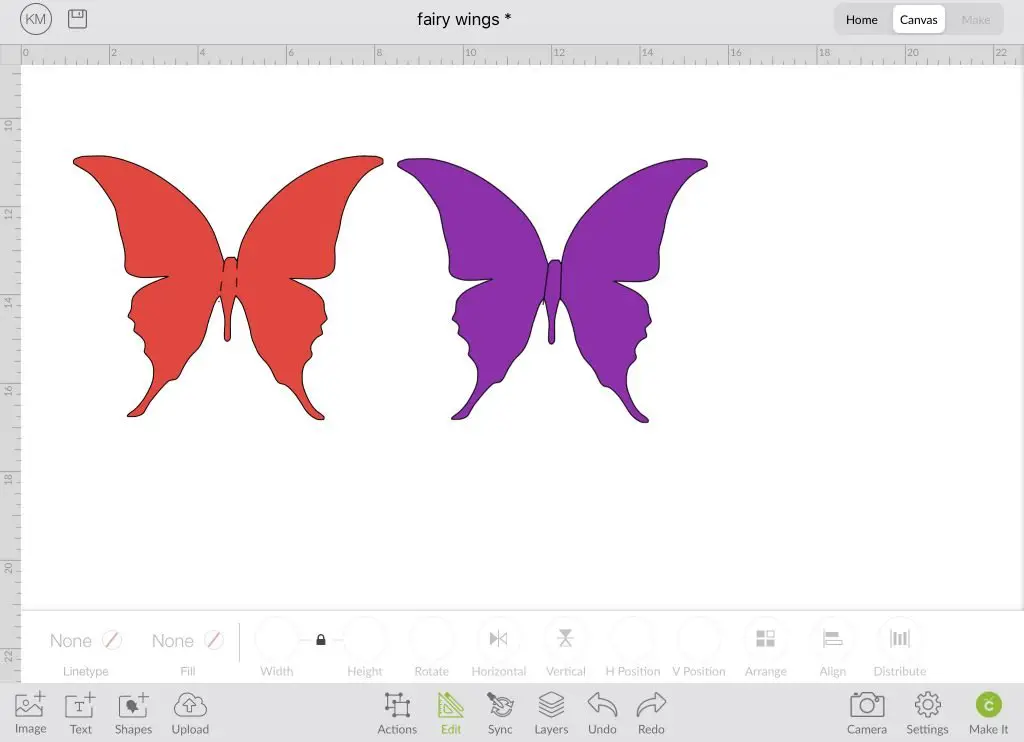
2. You need to have a design or make one. I have one that my girls currently like so I’m using that – as per their request fairy wings as shown on the right. This is also the same template that I used in my How to Make Fairy Wings Tutorial
3. Make sure you have measured your hat space as listed in item 1 above.
4. Using my Cricut and DS, I send the design to cut.
5. Weed and prep for application.
Re-Measure
6. Make sure you do a final check on size before you start the ironing process. I just placed the cut vinyl on the hats to see if they were a good size. It’s a simple check but very helpful.
Iron on the Design
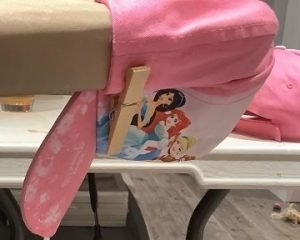
7. Heat your iron and ironing board ready (or your heat press). I use Teflon paper to keep my work and iron clean. Sometimes projects leave a mess so this makes sure there is no residue from previous projects projects
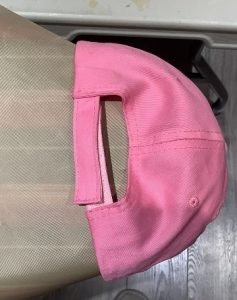
8. I used clothes pins to hold the hat in place against the ironing board. I pulled the hat as tight as I could an attached a clothes pin on each side. This made it easier during the ironing process.
9. As I was doing 2 hats, I had the luxury of testing different ways to set up the hat to iron.
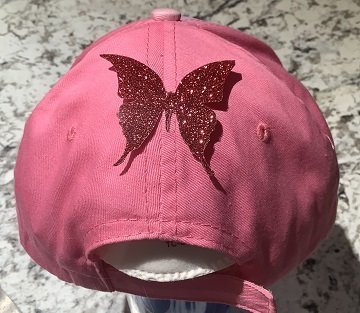
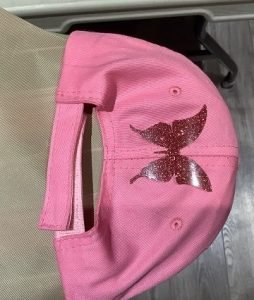
For the first hat (with red wings) I left the velcro adjustment almost straight. This left a lot of wrinkles in the hat making it hard to iron.
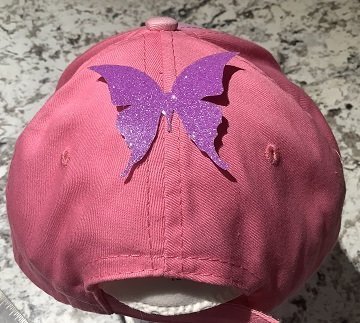
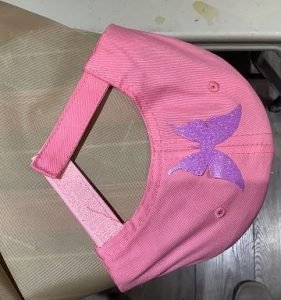
For the second hat (purple wings) I adjusted the velcro to only be adhered at the bottom. This proved to be a much better layout for when I was ironing as the hat was almost wrinkless.
10. Iron on the vinyl as per the manufacturers recommendations.
Typically, I will apply heat (through teflon paper) for about 10 seconds and then remove the carrier sheet. Then I will apply heat and pressure for about 30 seconds. When I say apply pressure, I’m talking about having my full body weight on the iron. If there isn’t enough pressure the vinyl won’t stick to the material and it will come off in time.
And That’s It! You’re Done!
Was this Tutorial Helpful?
Did you find this tutorial helpful? Let me know your thoughts in the comments below!
If you liked this tutorial, be sure to check out my other tutorials here.