What is Reverse Canvas?
I kept reading about reverse canvas, and I could not figure out what it was. After some digging, I learned it is when you take the frame from behind your canvas and put it on the front to have a framed picture.
Simple, right? So let’s learn how to make a reverse canvas.
As an Amazon Associate, I earn from qualifying purchases. This post contains affiliate links. I may receive a commission if you purchase an item from one of my links. This will not change the price you pay.
Supplies needed to Make a Reverse Canvas
- Canvas – Any size will do, but it needs to be a canvas with a frame in the back. You cannot use a board canvas.
- Paint – optional – I use acrylic paint
- Design to put on canvas – you can either paint on the canvas or use vinyl to apply an image. I use my Cricut Explore Air 2 to cut out vinyl design.
- Staple gun and staples
- Sharp knife/blade/scissors
- Screwdriver
- Pliers
- Sand Paper
Step by Step – Making a reverse canvas
Remove Canvas from the Frame
You need to remove the canvas from the frame. There are several ways to do this.
- Pull each staple out to release the canvas.
- Cut the canvas along the edge of the staples, around the frame.
- Cut a small portion of the canvas close to the frame. Then pull/rip the remainder of the canvas the length and width by hand.
Option 1 can be a bit tricky. If you are not careful, you can tear a hole through your canvas. This hole will need fixing, need to be worked around or result in throwing out the canvas entirely.
Option 2 and 3 will allow you to remove the staple after the fact. Once the canvas has been removed, there will be a gap between the staple and the frame. You can now easily fit a screwdriver under the staple and pop it out.
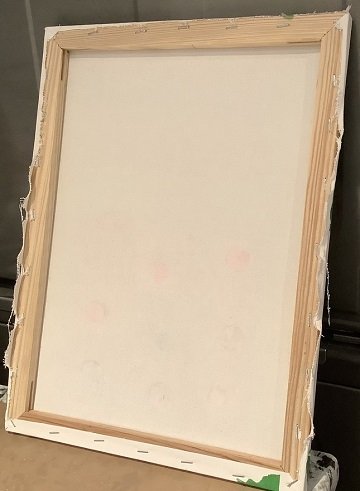
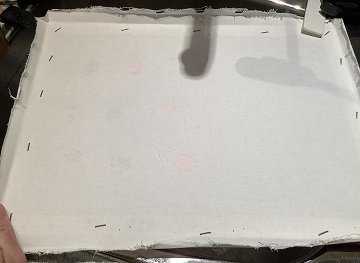
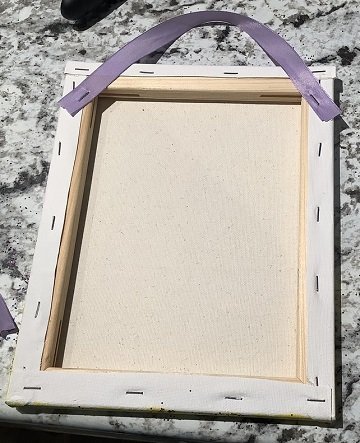
I do Option 3. I cut a small portion of the canvas at the corner and pull the strip of the canvas down. Repeat this 3-times. The image to the right shows the back of the canvas with three sides torn off. Do not worry about the frayed edges right now.
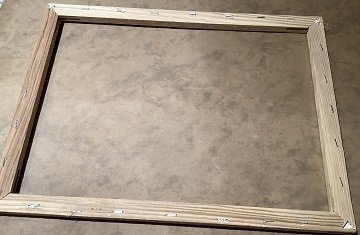
Remove the Staples from the frame
If you removed the canvas by cutting or ripping past the staples, your frame will still have numerous staples on it. You can remove these if you like. I remove them, as they can get in the way later when re-attaching the canvas.
This is the back of the frame, so it is ok to use a bit of force to get the staples out. Any damage caused to the back of the frame will be hidden.
I use a flat head screwdriver and pry it under the staples. Then, I push the screwdriver handle down, forcing the staples to come up. Sometimes the staples break or do not want to come out all the way, so pliers are handy to help pull it out all the way.
Painting the Canvas
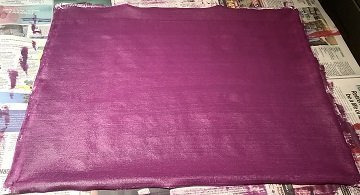
Depending on your design you can leave the canvas plain white or paint it. For this tutorial, I painted my canvas. It may take 2-3 coats of paint, depending on the look you’re going for. If you are painting the canvas, make sure you go to the edges as shown here.
Finish the Frame
The frames inside the canvas often are not in good condition. Some work will be needed. As a minimum, I recommend lightly sanding the frame, to remove any imperfections.
I usually paint the frames which take 2-3 coats.
Stain requires a varying number of coats. This depends on the color of the stain, and the desired final color. But I have found one coat of stain is not sufficient.
Re-attach the canvas
Once the paint has dried on the canvas and the frame, you can re-attach them.
Try to center the canvas the best you can to the frame. Staple one corner. For this tutorial let’s call the first corner the top left corner.
Pull the canvas as tight as you can along the top, all the way to the top right corner. Staple that corner next.
Now, pulling down from your top left corner, pull as tight as you can and staple the bottom left corner.
Finally, pull the last corner, bottom right, as tight as possible and staple.
I find that pulling and stapling the corners in this fashion does not allow any loose material to remain along the edges.
Once all 4 corners are stapled you can fill in the length and widths of the canvas with additional staples. Before adding staples, make sure to pull the canvas tight at each staple point.
You will notice that I now have surplus material around the edge of the frame. This surplus can be cut off with scissors, a sharp blade or by tearing the canvas the way we did above.
I don’t recommend tearing – this may lead to tearing into the canvas within the framed section.
How to add a design to Canvas
I used my Cricut Explore Air 2 to cut out my design on permanent vinyl.
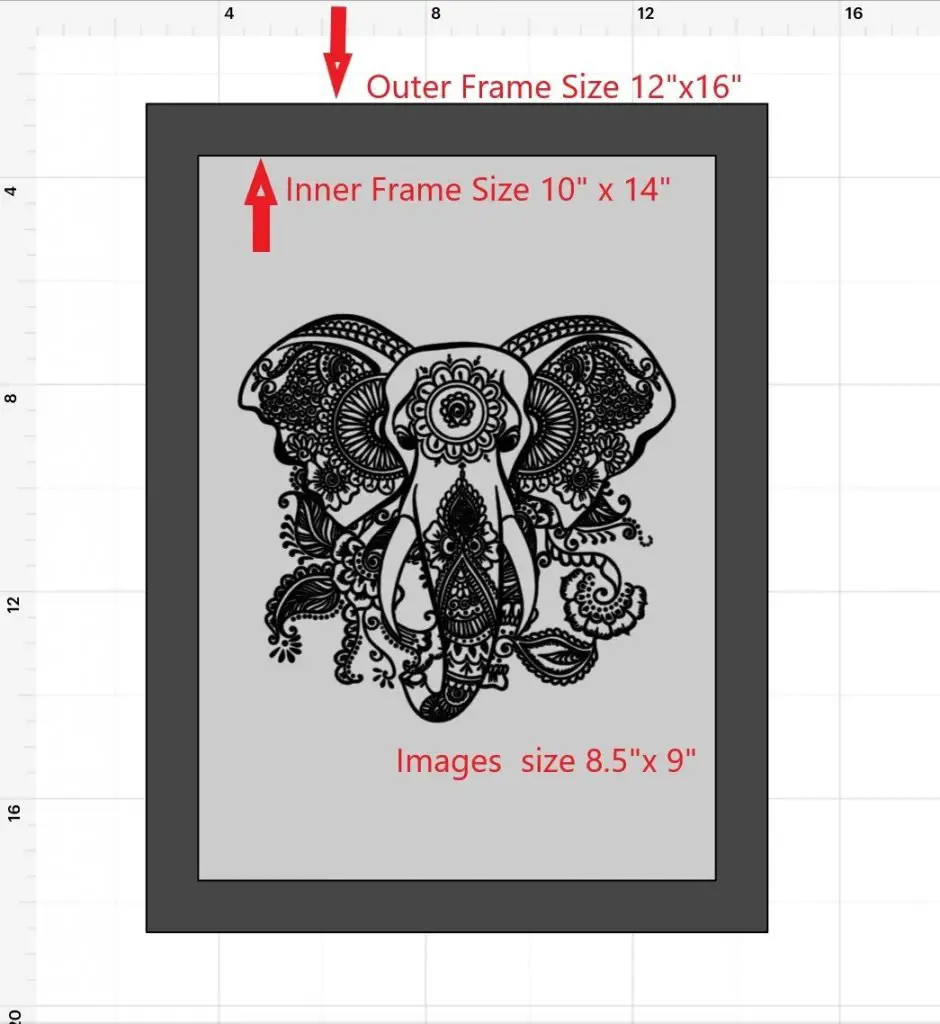
Make sure that the design is smaller than the inside of the frame before you cut it. For example, if you are working with a 12″ x16″ frame, the inside of the frame is only 10″ x14″.
Then, weeding the vinyl, applying it to transfer paper and removing the vinyl carrier sheet, it is ready to be applied to the canvas.
Either measuring out the center, I use thread and tape to find the center, or just eyeballing it, adhere the design to your canvas. You will need to burnish the vinyl onto the canvas to ensure it has adhered to the canvas before removing the transfer tape.
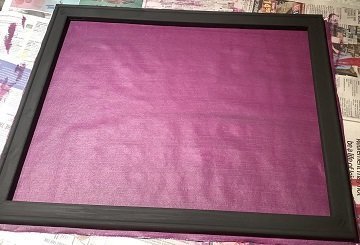
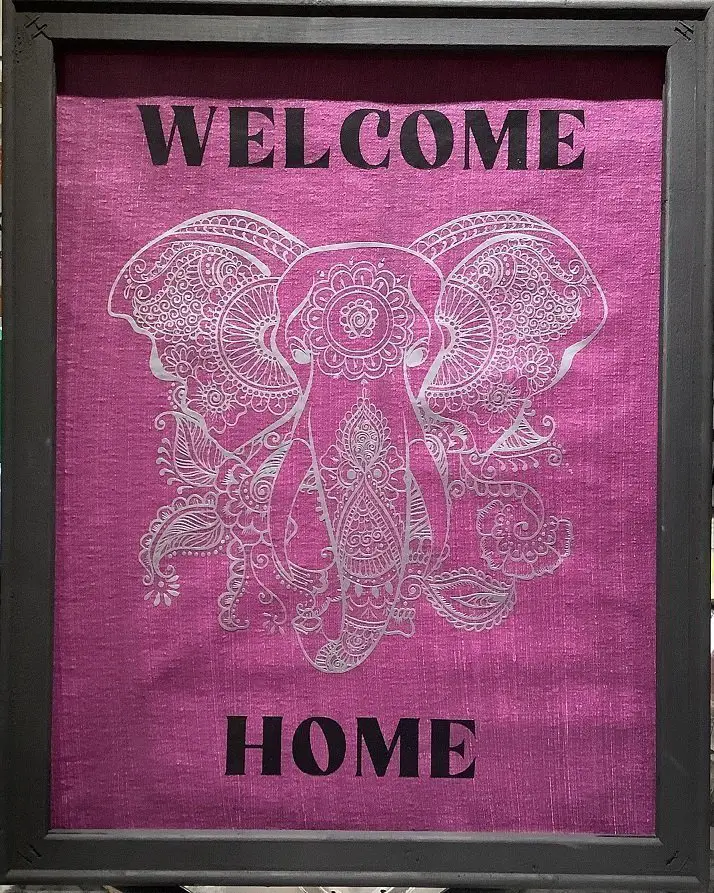
And That’s It! You’re Done with your Reverse Canvas!
Tips and Tricks for Making a Reverse Canvas
Now that we have gone through the basic steps of making a reverse canvas, I will share some tips and tricks that I have learned along the way.
How to staple the canvas so there is no loose material
When stapling the canvas to the frame, it needs to be pulled tight to ensure no sagging or waving in the canvas. It needs to be very tight. This can be hard on your first time, but you need to try.
You will be stapling the canvas near the end of the project. Typically, this is when things go wrong, so take your time.
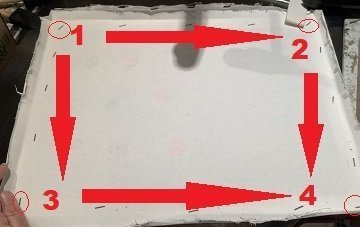
This picture shows the best way to staple the canvas back onto the frame. The numbers indicate the order in which the staples are installed, and the arrows indicate the pull direction.
How to hang a reverse canvas sign
Hanging a Revere Canvas Sign with Ribbon
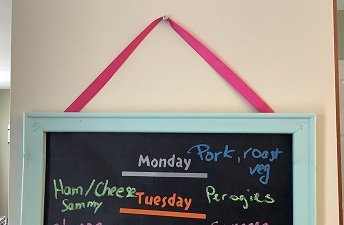
Sometimes you do not have hanging hardware available, or you want the design to look cute. For this, I like to do is use ribbon.
Just get a piece of ribbon slightly longer than the top width of the canvas. Staple onto the backside of the canvas, and presto!
Hanging a Reverse Canvas Sign with picture Hangers
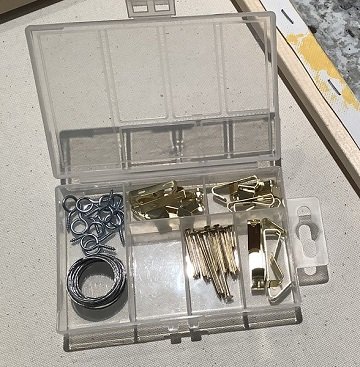
s If you do not like the ribbon idea above, the local dollar store sells hardware for hanging pictures. Typically the sets contain hooks, wire, clips, and nails.
These hardware sets can be used for both regular and reverse canvas projects.
Typically there are enough pieces inside there to hang 5-10 frames.
Hanging Reverse Canvas with 3M Pictures Adhesives
If you do not want to make holes in your wall, an alternative option is to use 3M Command Strips instead.
The one warning I have about using these is that you need the correct size. If you buy large ones, they will work well on smaller frames, but if your frame is heavier than what the Command Strips will hold, your reverse canvas will fall off the wall.
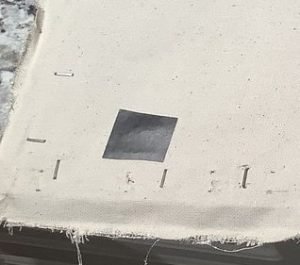
Can you Fix a Hole in the Canvas?
Once, when I had not pulled the canvas tight enough, I tried to pull the staples out again. Of course, my hand slipped, the screwdriver shot across the frame and ripped a hole right in the canvas.
II was about to call it quits! Instead, I found a vinyl the same color as my paint and taped it on the back. Ensuring the hole was completely sealed and the canvas was flat on the front. However, if any area was not completely sealed, the vinyl color would show up instead.
Then apply touch-up paint on top of the ripped area to hide any remnants of a tear.
The pictures on the right show the damage followed by the repairs.
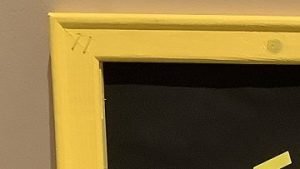
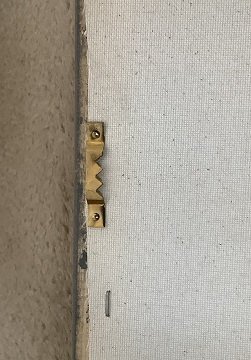
Do you need to Keep the Staples in the Corner of the Frame?
Oftentimes, when you take the canvas off, there will be staples on the front of the frame, at the corners.
There are two options:
- Leave the staple there – Typically, this is what I do. You can paint or stain over them. They do not make an impact on the look of the final design.
- Remove the staples and glue the frame – This takes a lot of effort. You want to glue the frame with wood glue before you remove them. Let the glue dry for about 24 hours, and then remove the staples. If you remove them first, the frame will shift. Then you will have to use clamps to keep it straight. This becomes a real pain… and I do not recommend it.


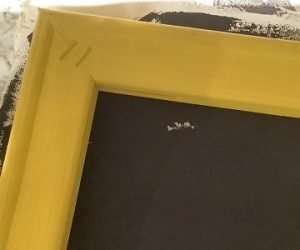
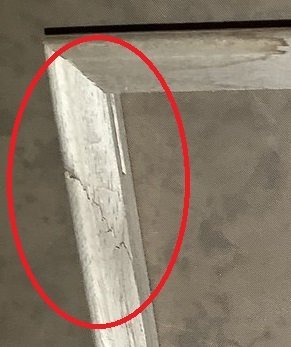
Can you Fix a Broken Frame?
Once in a while, you will be the unfortunate recipient of a broken frame.
The frame either has a crack or a chip.
Do not worry!
Just apply some wood glue on the crack/chip and let it dry.
If the crack is significant, you may need to use clamps to hold it straight while it dries.
Once dry, run some sandpaper over it to smooth out the spot.
Apply paint/stain, and it is ready to go!
This will increase the duration of your total project time by a day, but it will help you salvage the frame.
What Size Canvas Do you use?
There are many different sizes of canvas you can purchase. You can buy very small ones or very large ones. The choice is up to you.
Ideally, you want to know where the frame will go when complete. You can then measure the space available with a tape measure to give you an idea of what size canvas to use.
Also, canvas’ can be purchased in square sizes (ie: 6″ x6″) as well as rectangular sizes (ie: 8″ x 10″)
What Type of Vinyl to Use for Reverse Canvas Signs?
If you want to add a vinyl design onto your reverse canvas sign there are 2 options. You use either Permanent Vinyl or HTV Vinyl.
Permanent vinyl works best on painted reverse canvases, as an unpainted canvas is textured, making permanent vinyl difficult to stick.
HTV Vinyl works well on unpainted canvas as it will melt into the texture of the canvas. You can use HTV vinyl on painted canvas, but you have to keep two things in mind:
- Some paint will bubble when heated, ruining the whole project, and,
- Some paint may burn and release fumes when heated.
When do you apply your vinyl design to the canvas?
You can apply your design to the canvas before or after you staple it to the frame. My preference is to apply it after the canvas is on the frame. I find this way help helps me center the design better.
You can apply the design onto the canvas before the canvas is on the frame, but getting everything lined up and straight is a bit more tricky. This is how I made holes in the canvas in the past by having to readjust the canvas.
Was this How to Make a reverse Canvas Tutorial Helpful?
Did you find this tutorial on how to make a reverse canvas helpful? Let me know your thoughts in the comments below!
If you liked this tutorial, be sure to check out my other tutorials here